If you’ve been following along in the series, you know we’ve already built a VMware 2-node vSAN ESA Cluster. Now, it’s time to take it to the next level by adding GPU capabilities! This is where the fun begins—integrating GPUs into the homelab and making them available to guest VMs. But before we dive into the implementation, let’s take a step back. In this post, we’ll cover some essential background, explore how NVIDIA’s vGPU software can unlock powerful GPU capabilities for your virtual machines, discuss key hardware considerations, weigh the trade-offs, and get the necessary NVIDIA software downloaded.
We’ll conclude the post by registering for a trial to access the NVIDIA software and downloading the necessary components, including the Virtual GPU Manager for VMware vSphere and the NVIDIA vGPU hypervisor host driver. In the upcoming posts, we’ll dive into:
- Installing the NVIDIA Virtual GPU Manager for VMware vSphere
- Changing the Default Graphics Type in VMware vSphere
- Configuring VMware vMotion with vGPU for VMware vSphere
- Configuring a vSphere VM with NVIDIA vGPU
- Licencing a VM for vGPU
Let’s get started!
Background
My Use case
Why did I decide to build a GPU home lab?
Thankfully, it wasn’t to run the latest LLMs or AI projects—that would be costly! My primary focus is on the underlying infrastructure, rather than AI itself.
My main objective is to gain a deeper understanding of what’s required to support GPU-enabled workloads within a VMware cluster. I aim to explore NVIDIA’s vGPU technology, run some basic AI workloads, and evaluate how the NVIDIA GPU Operator integrates with Kubernetes for containerised GPU workloads. While I’m not a data scientist, I hope to gain exposure to ML/AI workloads, which will help me better understand customer requirements.
The Hardware
Before we dive into the implementation, let’s take a moment to discuss the GPU I’ve chosen for my home lab.
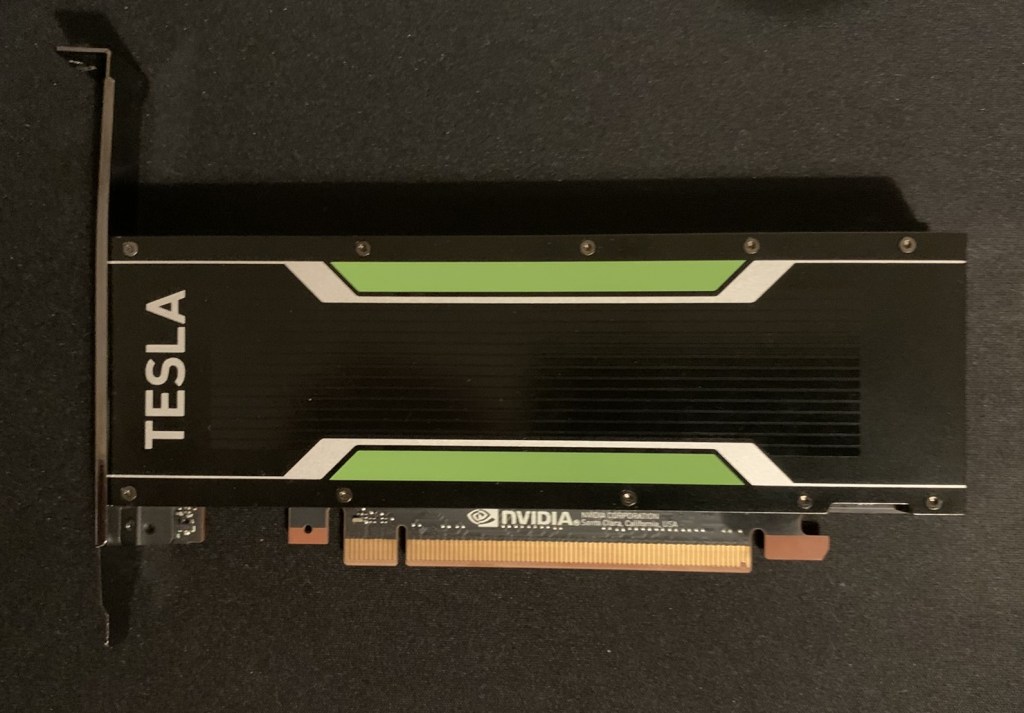
Selecting the right GPU for a VMware GPU-enabled cluster requires careful consideration—especially when it comes to production environments or specialised workloads. I plan to explore this topic in more detail in a future post. For my Homelab, I decided on the NVIDIA Tesla P4 (8GB).
Why this GPU for my use case?
The main factor? Budget. These GPUs can be found for around £100 on eBay (as I mentioned, this is a budget-friendly GPU home lab). Other key considerations included:
- Power efficiency – It consumes a maximum of 75W, which is significantly lower than modern GPUs.
- Form factor – It’s a single-slot card, making it easy to fit into my setup.
- NVIDIA vGPU support – Crucial for my testing and learning.
- Compatibility – It doesn’t require a large BAR or SR-IOV, neither of which are supported by the Dell Precision 5820.
The table below compares some of the P4’s specifications to a more modern card, the L40S. As you can see, it has significantly fewer capabilities compared to the L40S. This will limit what I can do with it, but it should provide enough basic functionality for learning the infrastructure aspects.
It’s likely that I’ll outgrow this GPU and will eventually need something more powerful, but this will be a solid starting point for my journey.
| Tesla P4 8GB | L40S | |
|---|---|---|
| Released | 2016 | 2022 |
| GPU Architecture | Pascal | Ada Lovelace |
| Cores | 2,560 CUDA | 18,176 |
| Tensor Cores | 0 | 568 |
| Texture Mapping Unit (TMU) | 160 | 568 |
| Render Output Unit (ROP) | 64 | 192 |
| CUDA Compute Capability | 6.1 | 8.9 |
| Single-Precision Performance 32FP (TFLOPS) | 5.5(*1) | 91.6 |
| Peak INT8 (TOPS) | 2(*1) | 733 I 1,466(*2) |
| GPU Memory | 8 GB | 48GB |
| Memory Bandwidth | 192 GB/s | 864 GB/s |
| System Interface | Low-Profile Single-Slot | Dual-Slot |
| Max Power | 75W | 350 W |
| Hardware-Accelerated Video Engine | 1x NVDEC 2x NVENC | 3x NVDEC (1xAV1) 3x NVENC (1xAV1) |
*1 With Boost Clock Enabled
*2 With sparsity
NVIDIA Tesla P4 GPU Datasheet | NVIDIA L40S Datasheet
What are the trade offs?
Since the Tesla P4 is an older card, there are some obvious limitations:
- Limited VRAM (8GB) – I will need to find tiny LLMs, as larger ones will not be possible.
- No Tensor Cores – Workloads requiring matrix multiplication and convolution operations will be slower.
- Older CUDA Compute Version (6.1) – Some AI applications require a newer CUDA version.
- NVIDIA vGPU support is outdated – NVIDIA dropped support for the P4 in version 17, with the latest release at the time of writing being version 18. The latest compatible version I can use is vGPU v16.
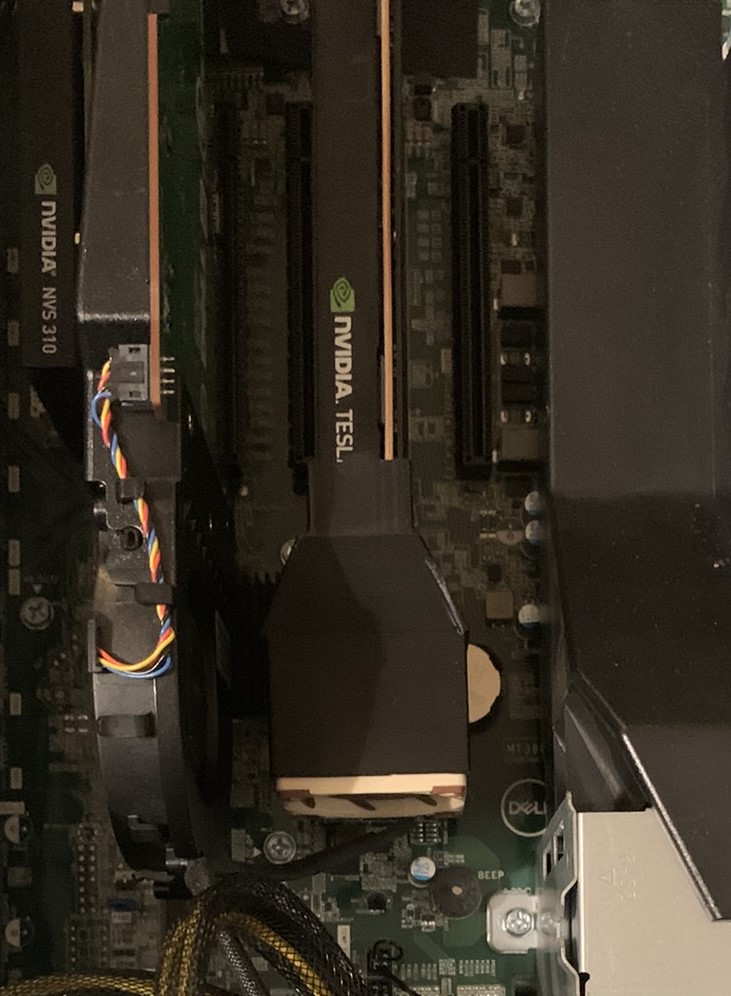
Cooling
The Tesla P4 is passively cooled and designed for server chassis airflow. My Dell Precision 5820 workstations have a front chassis fan that blows air over the PCIe slots. However, to provide adequate cooling, I had to increase the fan speed—turning my workstation into something that sounded like a jet engine.
To solve this, I:
- Installed an aftermarket, 3D-printed shroud to direct airflow over the P4’s heatsink. The shroud houses a Noctua NF-A4x20 PWM fan. Since the Dell motherboard lacks spare fan connectors, I used a 15-pin SATA to 3 x 3-pin/4-pin PWM fan cable, connecting it to the unused DVD drive SATA power.
- Replaced the stock Dell PCIe fan. I swapped it for a Noctua NF-S12A PWM fan to reduce noise. Since Dell uses proprietary fan connectors, I used a CRJ 4-Pin PWM PC Fan Adapter Cable to connect it.
Would I buy this GPU again?
Probably not! If my budget allowed, I’d prefer a newer GPU with more VRAM and Tensor Cores. I’d also choose one that is supported by NVIDIA vGPU Software v18 (the latest version at the time of writing). However, for the price, it’s a great starting point.
How to provision VMs with GPUs?
There are two primary ways to provide GPUs to VMs: Pass-Through using Dynamic DirectPath I/O or using NVIDIA’s vGPU software (formerly NVIDIA GRID). Each method has its pros and cons, which I’ll explore in more detail in a future series dedicated to provisioning GPUs for VMs. However, the focus of this article is on the practical installation and configuration of NVIDIA’s vGPU software.
Why NVIDIA vGPU?
NVIDIA vGPU software enables you to partition a physical GPU into multiple smaller virtual GPUs, allowing them to be shared efficiently between VMs. This not only improves resource utilisation but also enhances flexibility by enabling features like vMotion, which improves the availability of GPU-enabled VMs by allowing them to be moved across hosts with minimal downtime.
Additionally, vGPU enabled VMs can utilise Distributed Resource Scheduler (DRS) placement, ensuring that workloads are optimally distributed across your infrastructure for better performance and scalability. With NVIDIA vGPU, you can build a highly flexible, agile private cloud that can dynamically adapt to changing customer requirements, providing both performance and cost efficiency.
Note
Please be aware, NVIDIA’s vGPU software is a licenced product
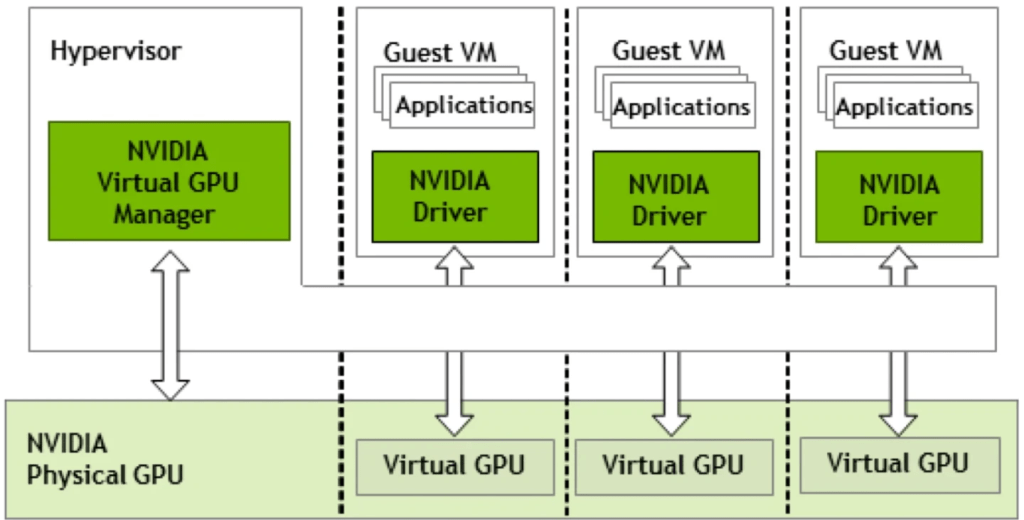
The diagram illustrates the high-level architecture NVIDIA vGPU Architecture.
NVIDIA GPUs are installed within the server, accompanied by the NVIDIA vGPU manager software installed on the host server. This software facilitates the sharing of a single GPU among multiple VMs. Alternatively, vGPU technology allows a single VM to utilize multiple vGPUs from one or more physical GPUs.
Physical NVIDIA GPUs can support multiple virtual GPUs (vGPUs), which are allocated directly to guest VMs under the control of NVIDIA’s Virtual GPU Manager running in the hypervisor. Guest VMs interact with NVIDIA vGPUs similarly to how they would with a directly passed-through physical GPU managed by the hypervisor.
Now that we’ve covered the hardware and the benefits of NVIDIA vGPU, it’s time to dive into the software. In the next steps, we’ll go through the process of downloading and preparing the necessary NVIDIA vGPU software to get your setup up and running. Let’s get started!
NVIDIA Software
Now, it’s time to download the NVIDIA software we’ll need for the next steps in this process.
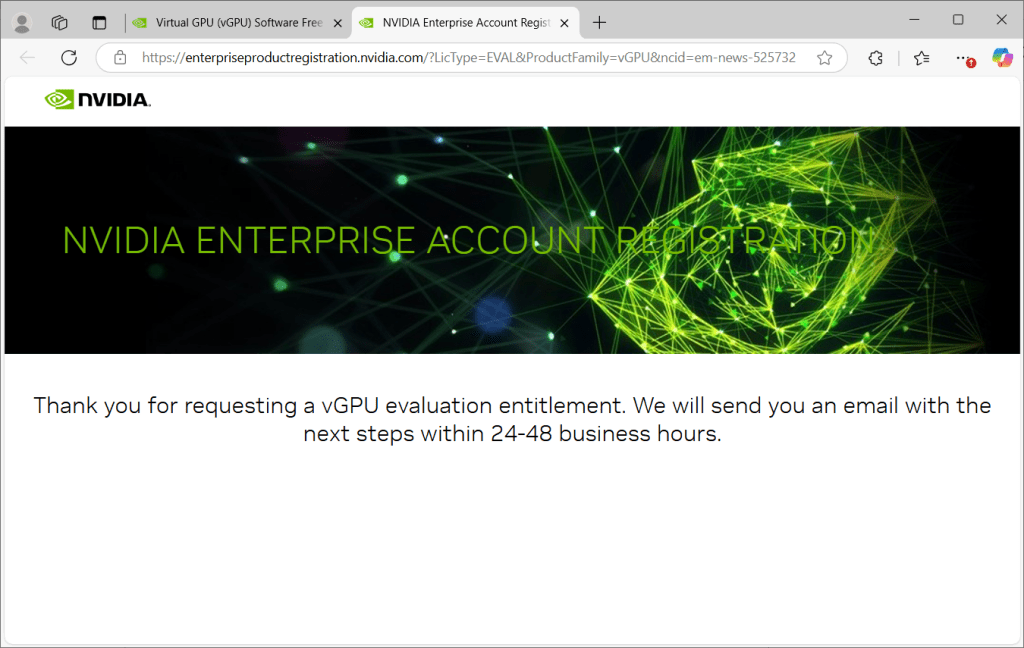
- Browse to Virtual GPU (vGPU) Software Free 90Days Trial | NVIDIA
- Click Register for Trial

- Review the NVIDIA Enterprise Account Registration, if you agree, click Agree

- Fill in the details for the Account Registration Form
- Click Register

- Once you submit your application, you will need to wait 24-48 hours for it to be approved.
- Once your account has been approved, you should receive a Hub Account email and a second one containing your Certificate of Entitlement.
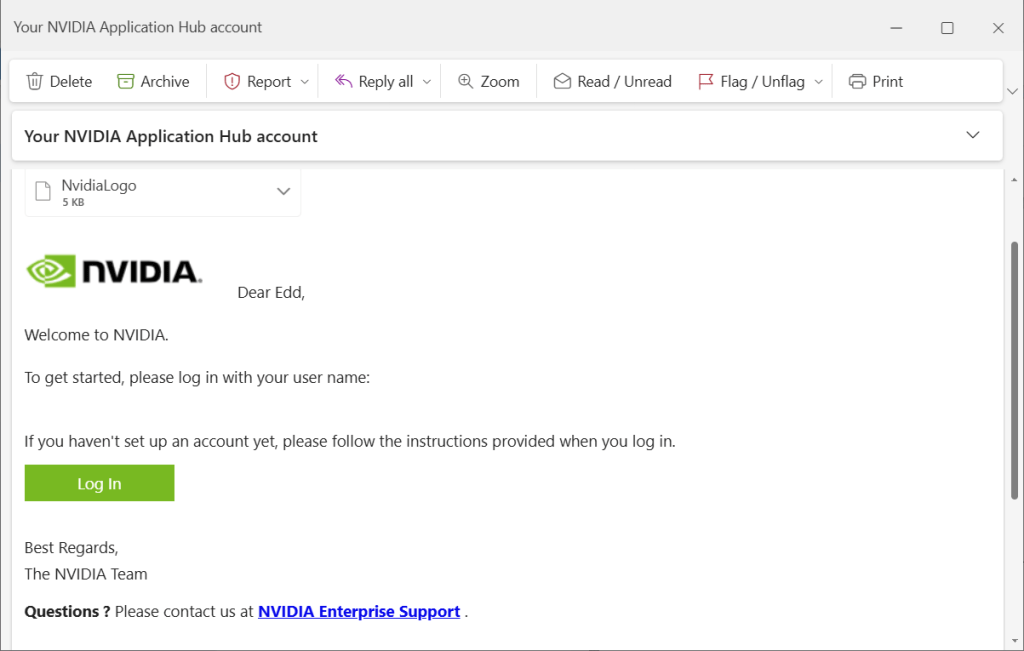
- Click the Log In link in the Hub Account email
- Follow the onscreen instructions to login and create an account
- Once setup, you should have access to the NVIDIA Licencing Portal (https://ui.licensing.nvidia.com/)
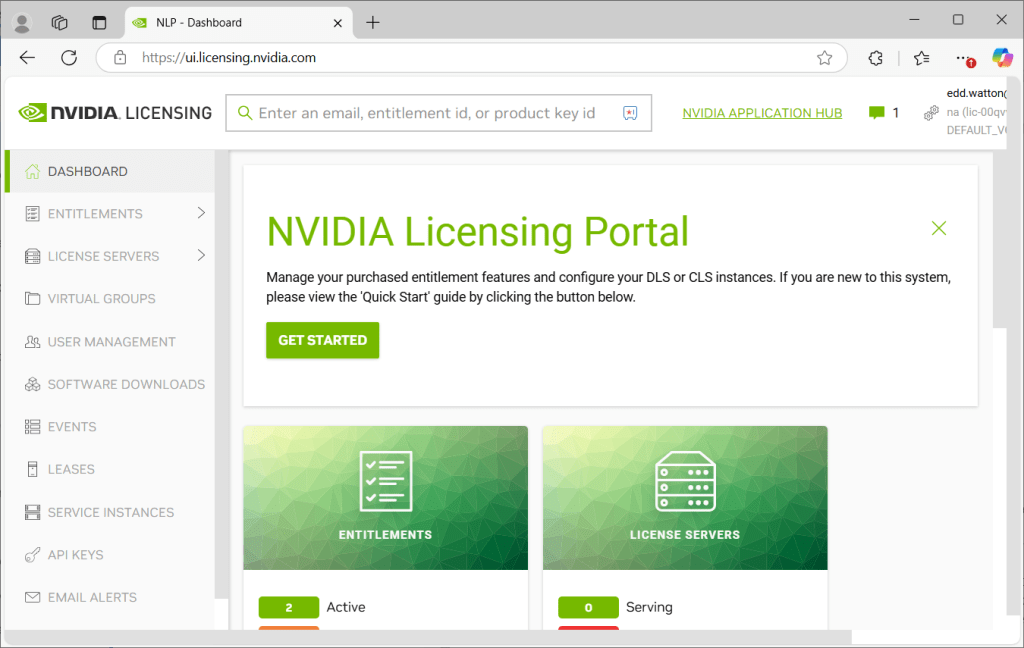
- Browse to Software Downloads
- Filter based on Platform and enter VMware
- Order by Release Date
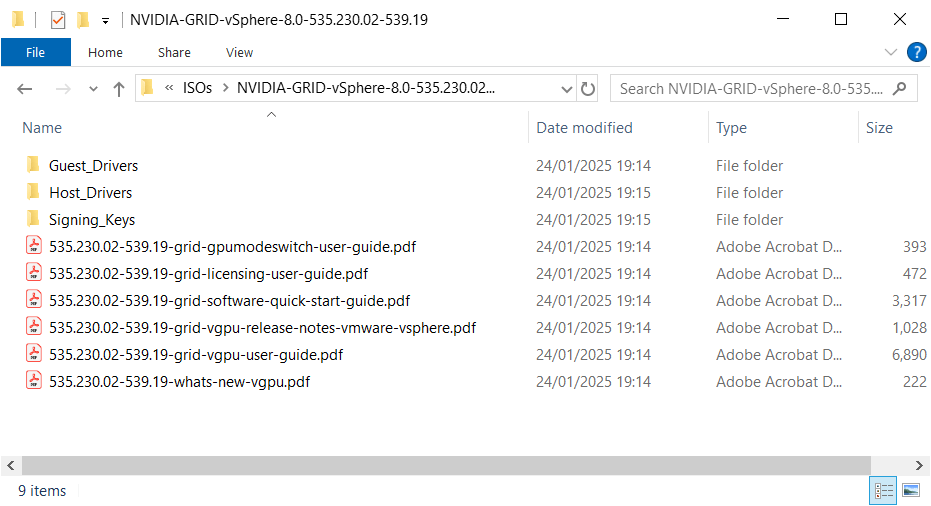
- Download:
- Complete vGPU 16.9 package for VMware vSphere 8.0 including supported guest drivers. In my example, NVIDIA-GRID-vSphere-8.0-535.230.02-539.19.zip
- NVIDIA GPU Manager Plug-In 1.6.0 for VMware vCenter. In my example, nvidia-gpu-manager-for-vCenter-1.6.0.zip
- NLS License Server (DLS) 3.4.1 for VMware vSphere (Production Release) Alternatively, the LTS version. At time of writing NLS License Server (DLS) 3.1.5 for VMware vSphere. In my example, nls-3.4.1-bios-ESXi.zip – Only needed if you are air-gapped or want to use the DLS compared to the CLS (will be discussed in a later post)
Check what version is supported for your GPU, NVIDIA® Virtual GPU Software Supported GPUs – NVIDIA Docs

- Extract the downloaded zip files, we will be using them in later articles.
Lets examine the content of each of the files we have downloaded
vGPU 16.9 package for VMware vSphere 8.0 including supported guest drivers
In my example, NVIDIA-GRID-vSphere-8.0-535.230.02-539.19.zip
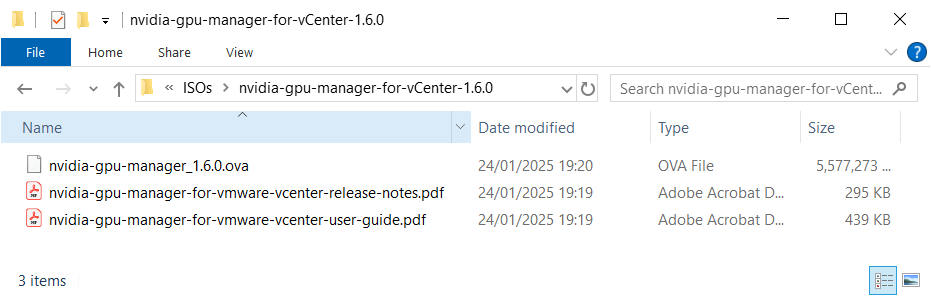
NVIDIA GPU Manager Plug-In 1.6.0 for VMware vCenter.
In my example, nvidia-gpu-manager-for-vCenter-1.6.0.zip
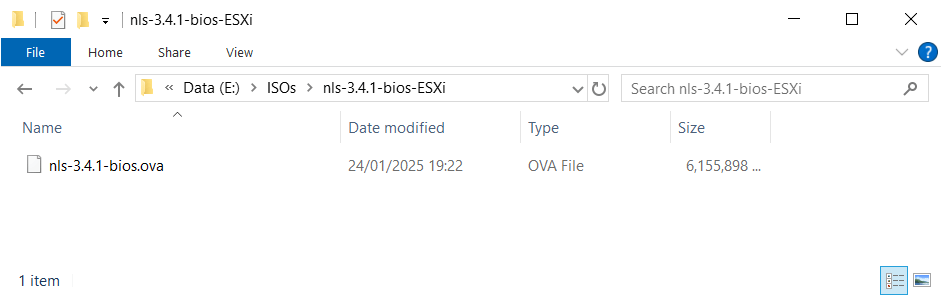
NLS License Server (DLS) 3.4.1 for VMware vSphere
In my example, nls-3.4.1-bios-ESXi.zip
That concludes the software download process. In the next post, we’ll walk through the installation of some of these components.
Summary
In this post, we took the first step towards adding GPU capabilities to our VMware 2-node vSAN ESA Cluster. We explored how NVIDIA’s vGPU software can enhance virtual machines by enabling powerful GPU support, discussed key hardware considerations, and weighed the trade-offs. We also covered the process of downloading the necessary NVIDIA software, including the Virtual GPU Manager for VMware vSphere and the NVIDIA vGPU hypervisor host driver.
In future posts, we’ll delve into the installation and configuration of the NVIDIA vGPU components, including setting up VMware vMotion with vGPU, configuring vSphere VMs, and licensing VMs for vGPU. Stay tuned as we continue building out this powerful GPU-enabled Homelab!
Stay tuned for the next post in this series, where we’ll dive into the installation and configuration of NVIDIA vGPU on VMware vSphere!


Leave a comment