If you have a Homelab and need additional network interfaces but don’t have any available PCIe slots, a USB NIC is a great option. In this post, I’ll guide you through the process of installing the USB Network Native Driver for ESXi—a Fling that isn’t recommended for production but is perfect in a Homelab environment.
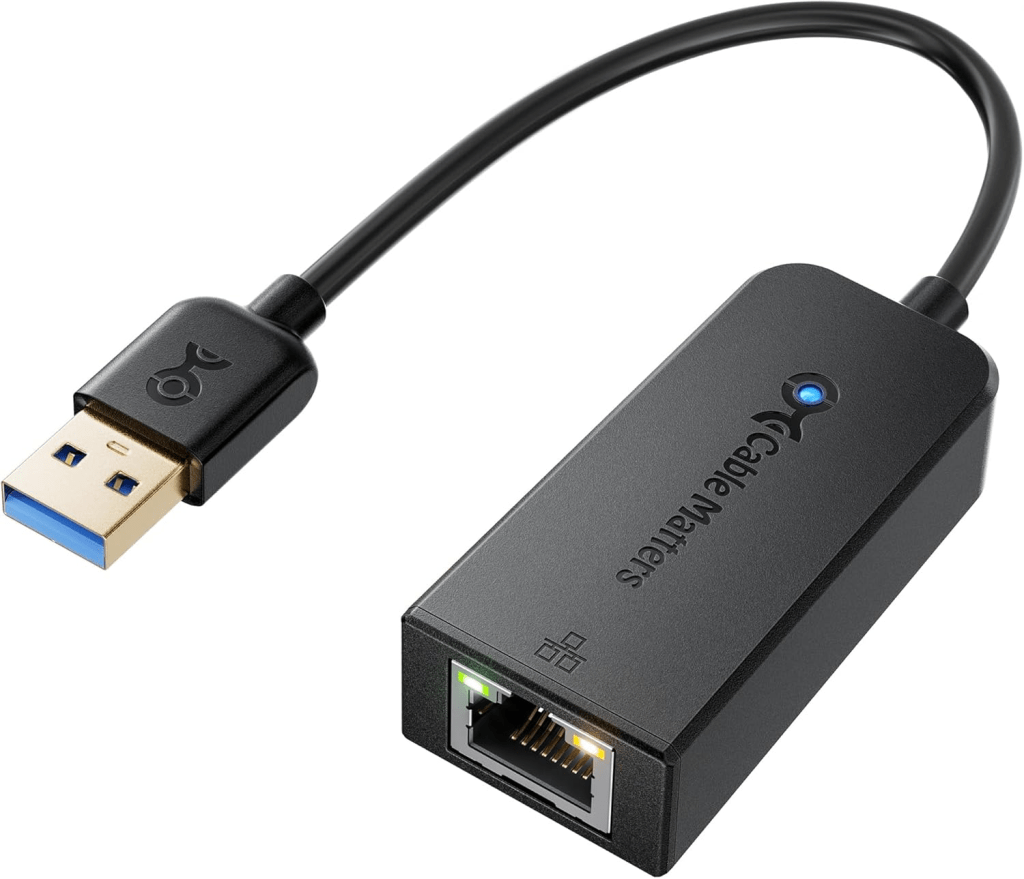
I recently purchased the Cable Matters USB to Ethernet Adapter (USB 3.0 to Gigabit Ethernet) to increase my network connectivity. If you’re considering a similar setup, this guide will take you through:
- Downloading the USB Network Native Driver for ESXi
- Copying it to a datastore
- Installing it via the CLI
NOTE
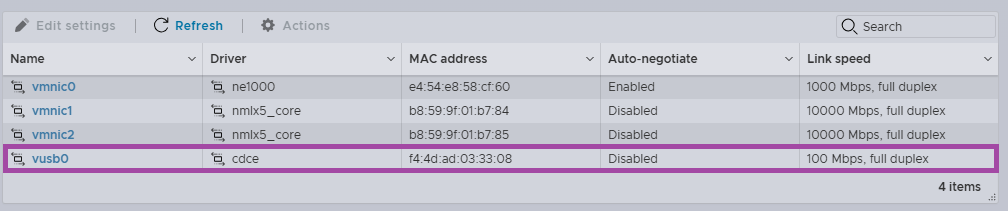
After connecting the USB NIC but prior to installing the drivers, vusb0 was listed but the link speed was displayed at 100 Mbps and it always showed as connected even when physically disconnected!
Let’s get started!
Downloading USB Network Native Driver for ESXi
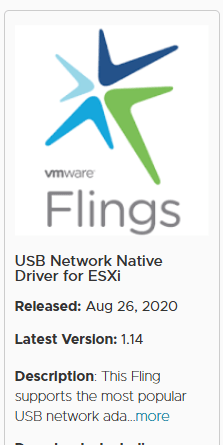
- First, download the USB Network Native Driver for ESXi from the VMware (Broadcom) Flings website.
Copy the file to an ESXi Datastore
- Next we need to copy the VIB to a datastore
- Browse to the vSphere Client
- Browse to, Inventory -> Storage View -> [vCenter Server] -> [Datacentre]
- Select a Datastore accessible to the host. If you have been following this blog series, I currently only have one host in the Custer. With the current vSAN policy, I cannot add non VM files to the vSAN Datastore. Therefore, I am going to use the datastore I called, OS SSD
- Click Files
- Click New Folder
- Enter Flings, or a name of your choosing
- Click OK
- Select the Flings folder in the left hand tree view
- Click Upload Files
- Select the ESXi803-VMKUSB-NIC-FLING-76444229-component-24179899.zip file (substitute the version numbers.)
- Click Open to upload the files
- You should now see the file in the datastore.
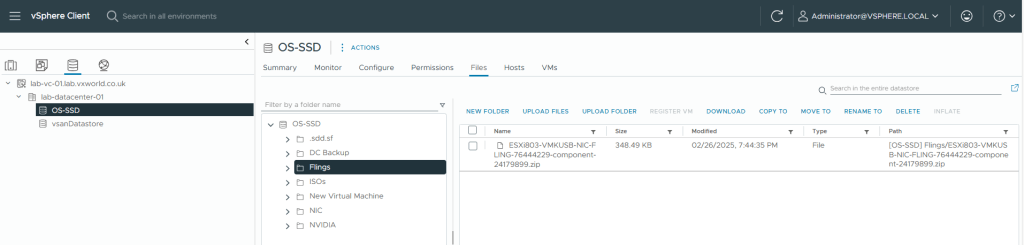
- Make a note of the file path, we will need them later to install these VIB via the ESXi CLI.
- [OS-SSD] Flings/ESXi803-VMKUSB-NIC-FLING-76444229-component-24179899.zip
Install the VIB onto the ESXi host
Now we have the file accessible on the ESXi host, we will SSH onto it and install it via the CLI. First we will need to enable SSH on the ESXi host, then we will be SSH onto it to install the VIBs.
- Browse to the vSphere Client
- Browse to, Inventory -> Hosts and Clusters View -> [vCenter Server] -> [Datacentre] -> [Cluster]
- Select the ESXi host you want to install the network driver onto. In my example, we currently only have one host.
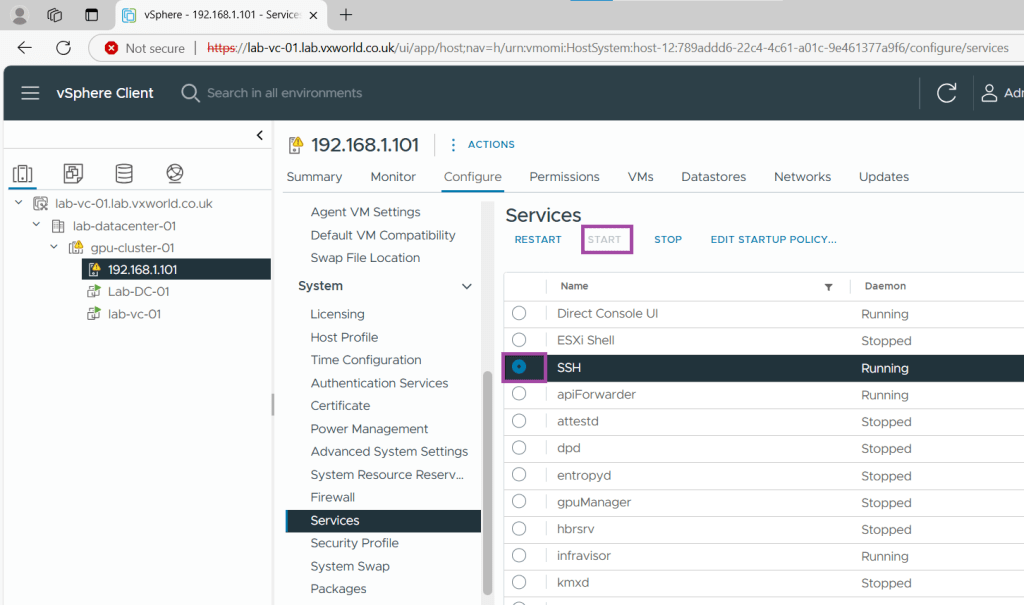
- Click on the Configure tab
- Browse to System -> Services
- Select SSH
- Click Start (if it is not already running)
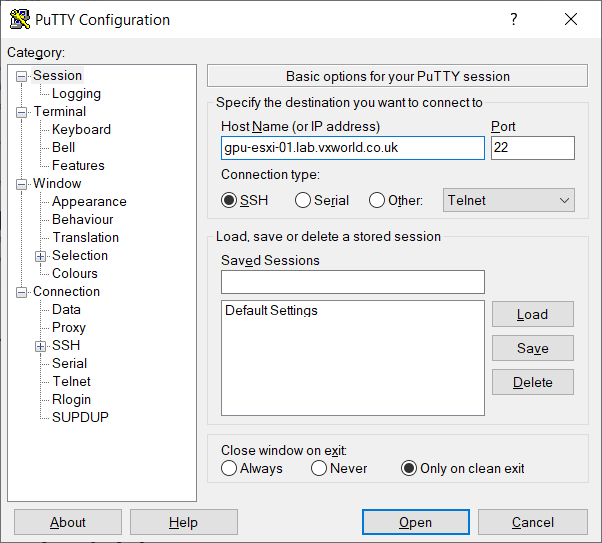
- Open an SSH client and connect to the ESXi host
In this example, I am using PuTTY as my SSH client.
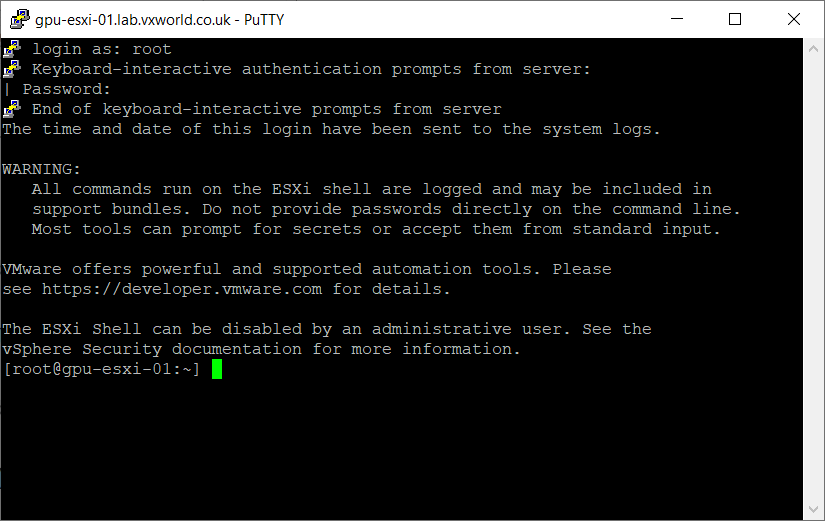
- Login as root
- Once connected, you should have shell access
- Run the esxcli command below to install the USB Network Native Driver for ESXi
Use the path you noted down when uploading the files to the Datastore to substitute the nic-driver-component.zip below.
esxcli software vib install -d /vmfs/volumes/datastore/nic-driver-component.zip

Example
Path noted: [OS-SSD] Flings/ESXi803-VMKUSB-NIC-FLING-76444229-component-24179899.zip

Command: esxcli software vib install -d /vmfs/volumes/OS-SSD/Flings/ESXi803-VMKUSB-NIC-FLING-76444229-component-24179899.zip
- We need to put the host into maintenance mode. If this is currently the only host in the cluster, refer to my post, VMware GPU Homelab: Tip – How to Shut Down a Single Node vSAN Cluster and Enter Maintenance Mode. If you have more than one host in a cluster, you can follow the standard process to put this host into maintenance mode.
- Reboot the host
reboot- After rebooting, we can validate the NIC is now showing in vSphere
- Browse to the ESXi Host Client
- Browse to, Networking -> Physical NICs
- You should see the USB NIC. In my example, this is vusb0
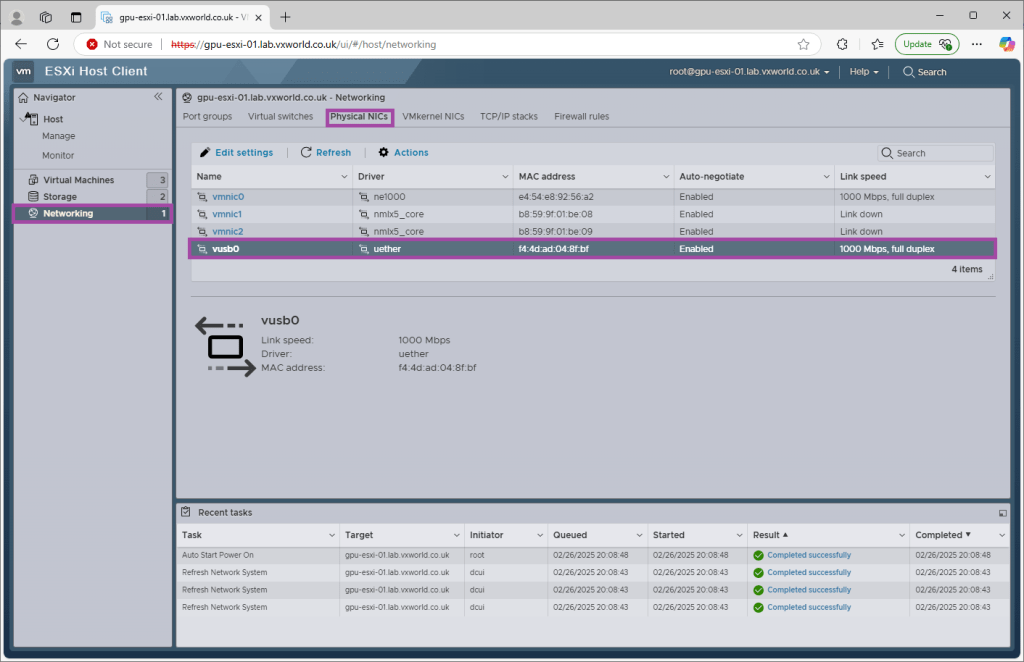
- Validate it is working by connecting and disconnecting the link to ensure the status updates correctly.
NOTE
Before installing the driver, vusb0 was listed but the link speed was displayed at 100 Mbps and it always showed as connected even when physically disconnected!
- If you have completed this process, you can now exit the host from maintenance mode. If this is currently the only host in the cluster, refer to my post, VMware GPU Homelab: Tip – How to Shut Down a Single Node vSAN Cluster and Enter Maintenance Mode. If you have more than one host in a cluster, you can follow the standard process to take this host out of maintenance mode.
Summary
In this post, I walk you through the process of installing the USB Network Native Driver for ESXi, a Fling that allows you to use USB network adapters in a Homelab environment. Since PCIe slots may be limited, a USB NIC—like the Cable Matters USB to Ethernet Adapter—can be a great alternative for expanding network connectivity.
The guide covers:
- Downloading the USB Network Native Driver for ESXi
- Copying it to a datastore
- Installing it via the CLI
By following these steps, you’ll be able to successfully add a USB network adapter to your ESXi setup, enhancing your Homelab’s networking capabilities


Leave a comment