In this post, I’ll walk you through deploying the vCenter Server Appliance (VCSA) on the ESXi host set up in VMware GPU Homelab: Part 3 – Installing ESXi Step by Step. The goal is to create a single-node vSAN Express Storage Architecture (ESA) cluster, forming the foundation for future expansion.
Greenfield deployments often present a chicken-and-egg challenge, and this is one of them. I want to deploy vCenter on a vSAN datastore, but the datastore doesn’t exist yet!
In earlier versions of vSphere, there were two workarounds:
- Deploy vCenter on alternative storage, then use vCenter to create the vSAN datastore and migrate it onto it.
- Manually bootstrap a single-node vSAN cluster using the ESXi CLI before installing vCenter onto it.
Fortunately, VMware has streamlined this process. The VCSA installer now includes a built-in bootstrap method, allowing vCenter to be deployed directly onto a single ESXi host without extra manual steps.
Expanding Beyond a Single-Node vSAN ESA Cluster
Once the single-node vSAN ESA cluster is up and running, you can expand it by adding additional nodes. In my Homelab, this setup will evolve into a two-node cluster with a virtual witness appliance running on a third, low-powered node. Alternatively, you can scale further by adding two or more ESXi hosts to the cluster.
Minimum Host Requirements for vSAN ESA
Beyond the two-node (plus witness) deployment, vSAN ESA requires a minimum of three hosts, though VMware recommends at least four for improved resiliency. This requirement is based on the RAID-5 2+1 Schema (recommended with ESA) or alternatively, three host would support a RAID-1 mirror. Ultimately, the minimum number of hosts depends on the storage policies you choose.
For a deeper dive into vSAN storage policies and their host requirements, check out my article: Data placement with vSAN Storage Policies
This guide is divided into the following sections:
- Step 1 – Download the VCSA ISO
- Step 2 – Create DNS Address for vCenter
- Step 3 – Run the Stage 1 installer
- Step 4 – Run the Stage 2 Configuration
- Summary
Step 1 – Download the VCSA ISO
Downloading the VCSA ISO has become more challenging following Broadcom’s acquisition of VMware. Currently, trial access requires an Enterprise customer account with at least one associated site ID. If you’re building a true Homelab, you won’t have access to the software through the Broadcom support portal.
Hopefully, you had a vMUG Advantage subscription and downloaded the ISO before November 30, 2024.
Looking ahead, in March 2025, VMUG and Broadcom will announce how individuals with an active vMUG Advantage subscription and a VCP-VVF or VCP-VCF certification can access the software.
There has been significant discussion in forums about this issue—how can you build a Homelab to gain experience and pass certification exams if you can’t access the software? Unfortunately, I don’t have an answer. My only suggestion is to try and gain the certification using VMware Hands-on Labs and The VCP-VCF Administrator Exam Guide. If you have any further suggestions, please share them in the comments below.
If you’re an Enterprise customer with a site ID linked to your account, you can download the software from Broadcom’s website.
For vMUG Advantage members who downloaded the software and licences before November 30, 2024, you can use that version. If you didn’t, you’ll need to wait for VMUG/Broadcom’s announcement in March 2025 regarding access for qualifying users.
Hopefully, you fall into the category of users who downloaded the software before the cutoff date. In my example, I’m using: VMware-VCSA-all-8.0.3-24022515.iso
Step 2 – Create DNS Address for vCenter
IMPORTANT
Prior to deploying vCenter, it is required to create the DNS forward (A record) and reverse (PTR) records. If you do not and provide a FQDN during the Stage 1 Deployment, the Stage 2 deployment will fail.
If you are following this Lab build, follow the steps below. If you have your own DNS server, create the required A and PRT records for the vCenter FQDN.
- Log onto the Domain Controller created in VMware GPU Homelab: Part 4 – Building a Windows Domain Controller and DNS server
- Open an elevated PowerShell window
- Run the command below to create the DNS A and PRT record for the vCenter. Note: substitute the Name, ZoneName and IPv4Address values that I am using in my Homelab for your own
Add-DnsServerResourceRecordA -Name "lab-vc-01" -ZoneName "lab.vxworld.co.uk" -IPv4Address "192.168.1.3" -CreatePtrStep 3 – Run the Stage 1 installer
In Stage 1, we will deploy the vCenter Server VM to the target ESXi host. This includes setting the vCenter VM name and root password, selecting the deployment size, configuring the vSAN ESA storage, and defining the network settings. To begin, we need to mount the VCSA Installer ISO and launch the installer.
I am running this on a Windows desktop so will launch the win32 exe. If you are using another OS, you will need to adapt the file path
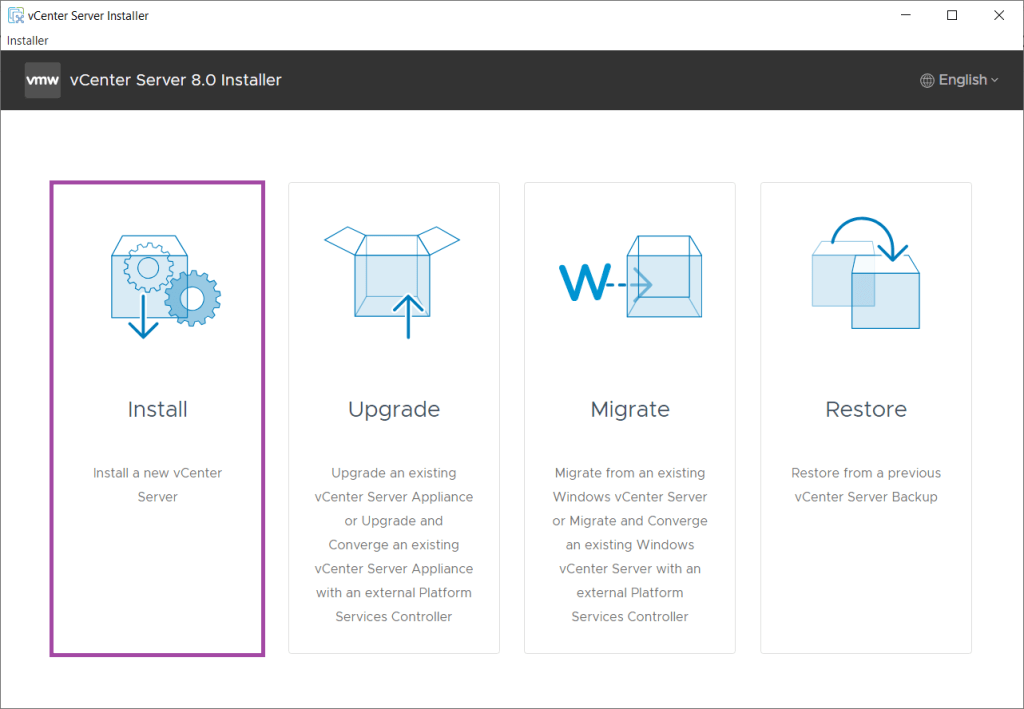
- Mount the VCSA ISO
- Run D:\vcsa-ui-installer\win32\installer.exe
- Click Install
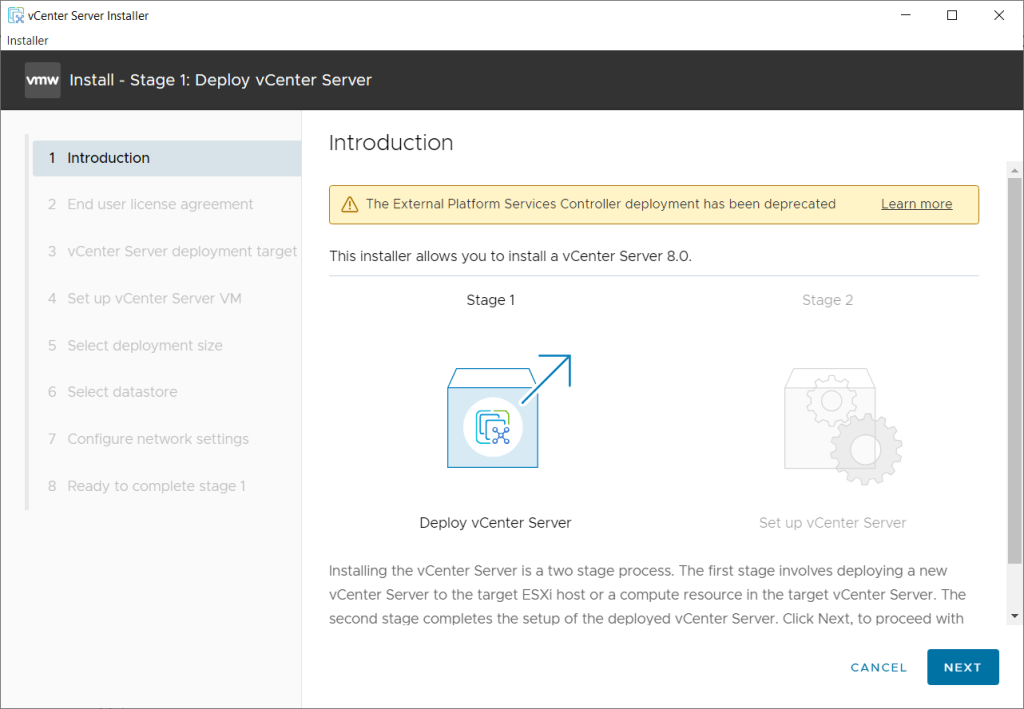
- Click Next
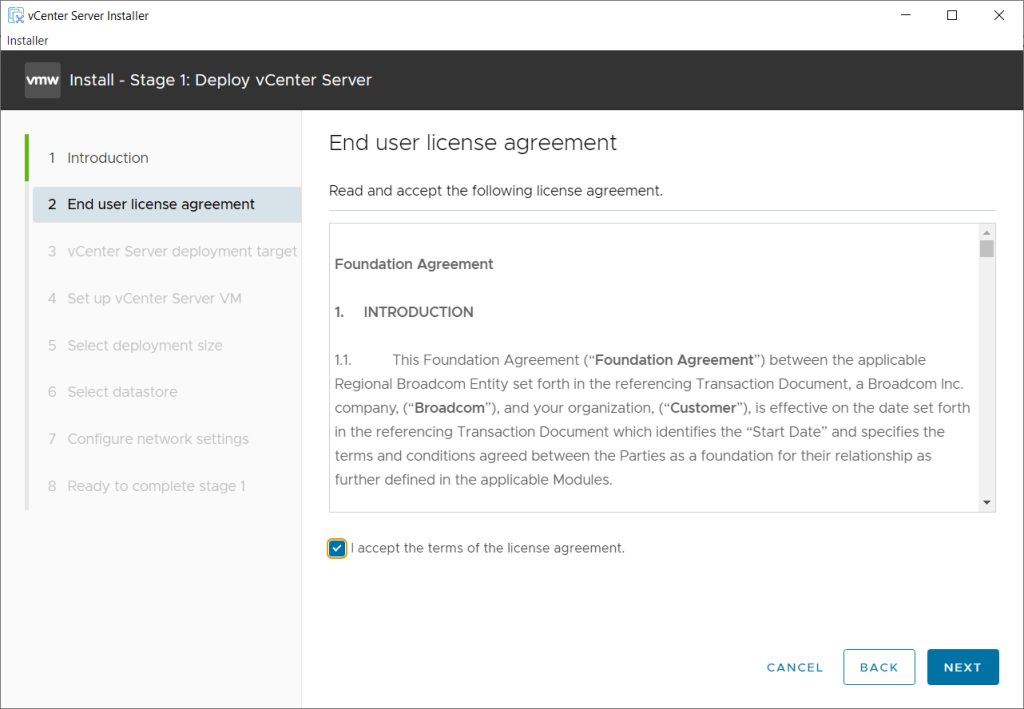
- If you are happy to accept the EULA, click I accept the terms of the license agreement
- Click Next
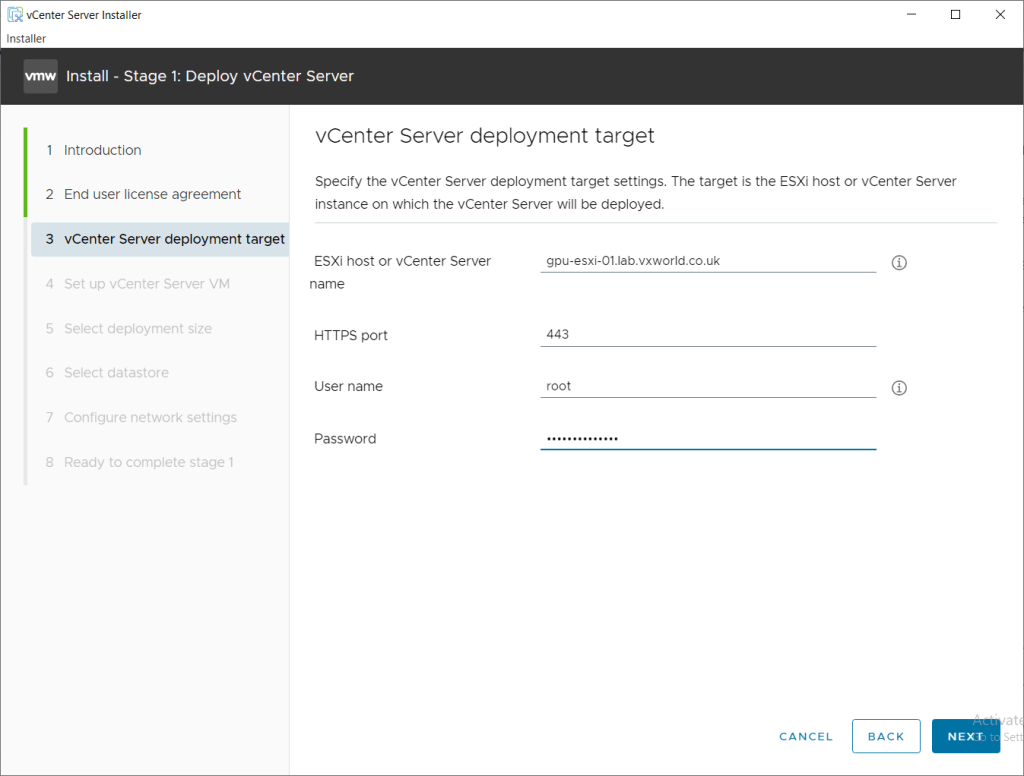
- Now we need to specify where the vCenter VM will be deployed to.
In the example below, we are going to deploy vCenter to an the ESXi host set up in VMware GPU Homelab: Part 3 – Installing ESXi Step by Step. If you want to deploy it to an existing vCenter, change the values as required.
- Enter the following details:
- ESXi host name: (The DNS name of the ESXi host you want to deploy vCenter onto. In my example, this is gpu-esx-01)
- HTTPS port: 443 (the default of 443 should be correct)
- User name: root (This is the user that will be used by the installer to connect to the ESXi host)
- Password: (This is the password you set for root when you installed ESXi)
- Click Next
TIP
The name you enter in the ESXi Host or vCenter Server Name field determines how the host (assuming you enter a host) appears within the vCenter cluster created by the installation wizard.
For example, if you enter the ESXi host’s hostname or FQDN, it will be displayed that way in vCenter. However, if you use the IP address, the host will be identified by IP, which can make daily management more challenging.
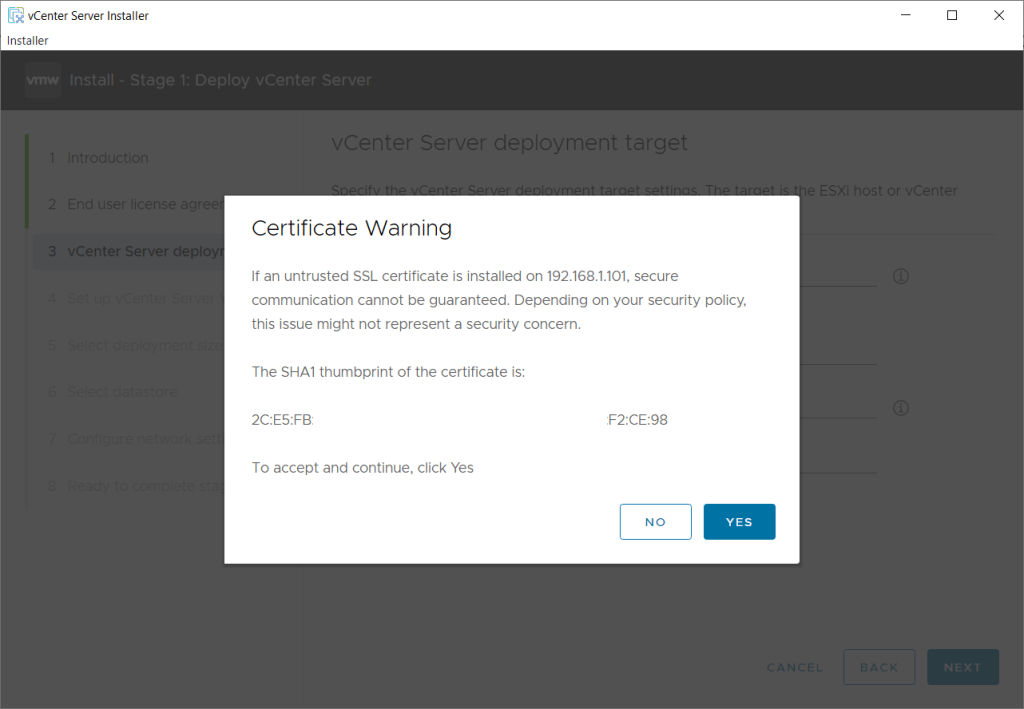
- If you are happy you are connecting to the correct server, click Yes to accept the certificate warning
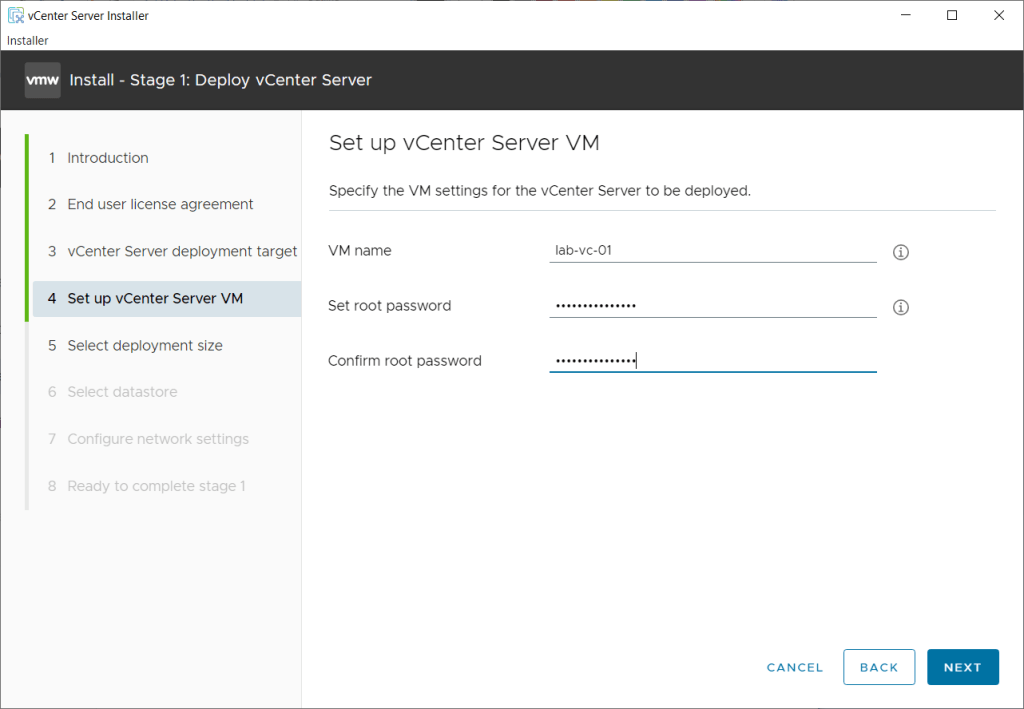
- Next we need to provide the VM name you want to use for the vCenter and the root password for the vCenter Server appliance.
The root user and associated password can be used to log into the vCenter Server Appliance Management Interface (VAMI) web interface or SSH onto the vCenter Server Appliance
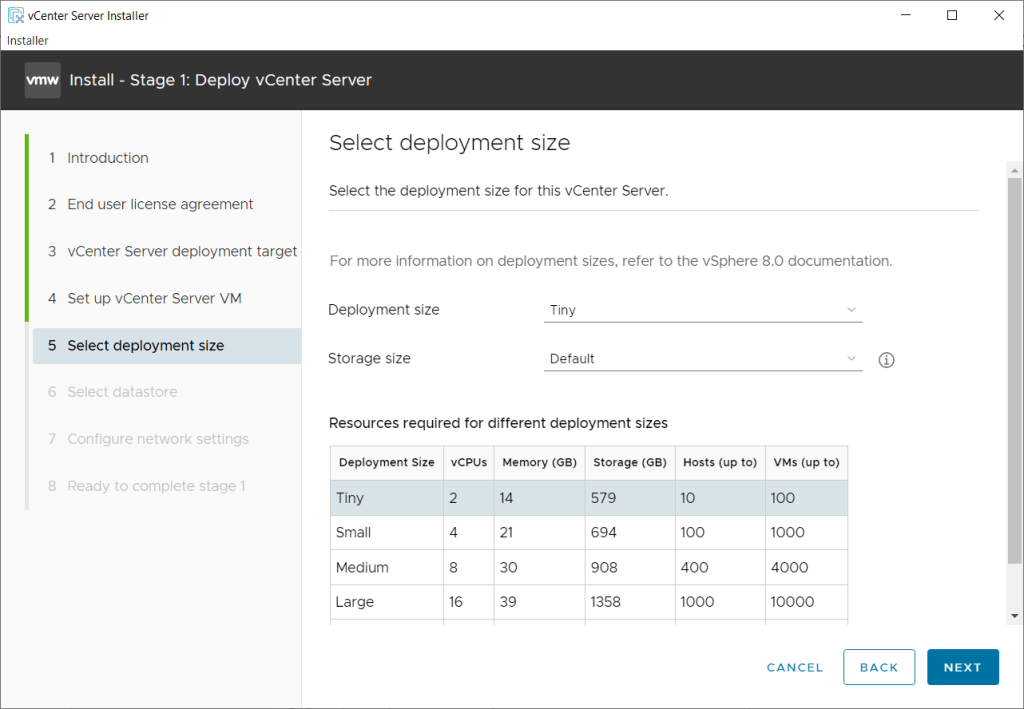
- Select the size of the vCenter appliance you want to deploy. As this is a very small Homelab, I have selected Tiny with the Default storage size
- Click Next
Refer to System Requirements for the vCenter Server Appliance on Broadcom’s website for more details on the different size options.
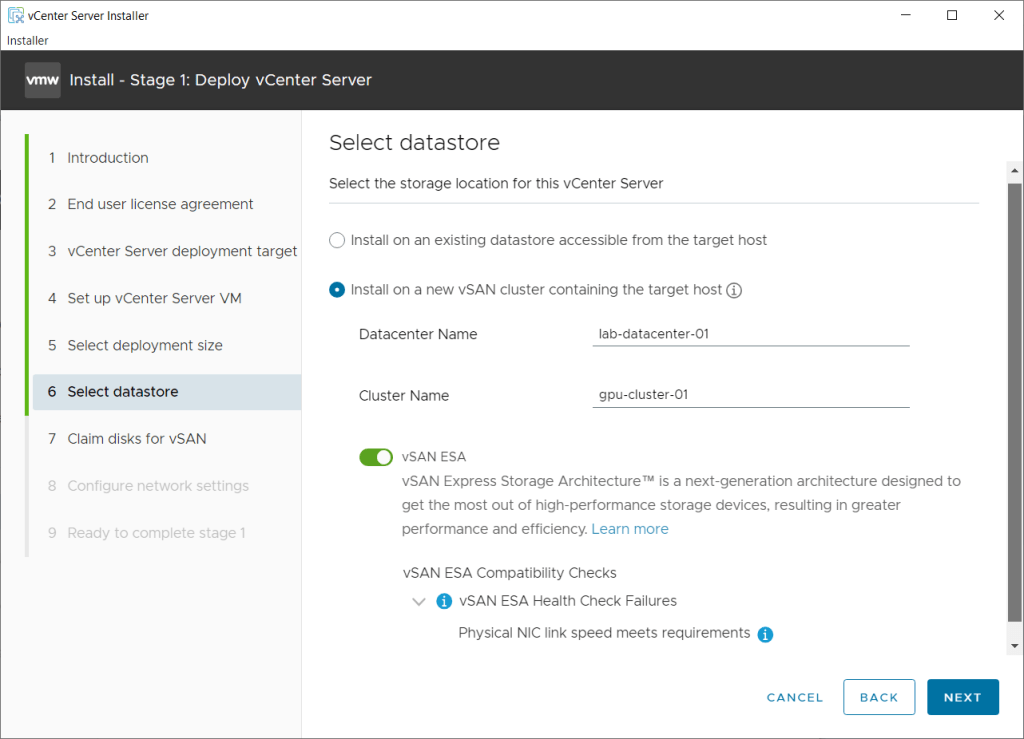
- Next we are going to specify where the deployed vCenter Server will be stored. We will be creating a new vSAN Cluster as discussed in the article introduction.
- Select Install on a new vSAN Cluster containing the target host.
- Under Datacentre Name, enter a name of your choose.
- Under Cluster Name, enter a name of your choose. As I am building a two node GPU cluster, and the host I am deploying it to is named gpu-esxi-01, the cluster name will be gpu-cluster-01 and the second host along with the vSAN witness will be added post vCenter deployment.
- Select vSAN ESA
- Note the Compatibility Checks failures. This is expected on my lab currently as I am running 1G NICs.
- Click Next
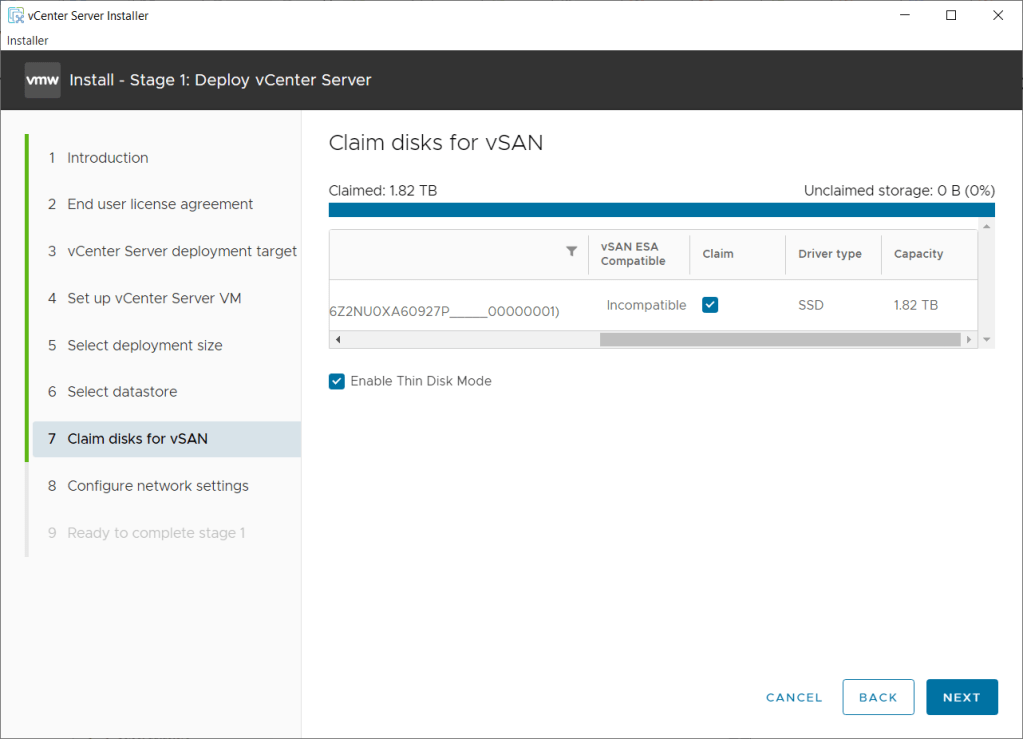
- We now need to Claim the disks we want to be part of the vSAN storage pool.
- Check the Claim box all the disks you want to add. In my example, I am clamming a single disk, my Samsung 2TB NVME drive (t10.NVMe____Samsung_SSD_990_PRO_2TB_________________S6Z2NU0XA60927P_____00000001)
- For lab purposes, I have also opted to Enable Thin Disk Mode
- Click Next
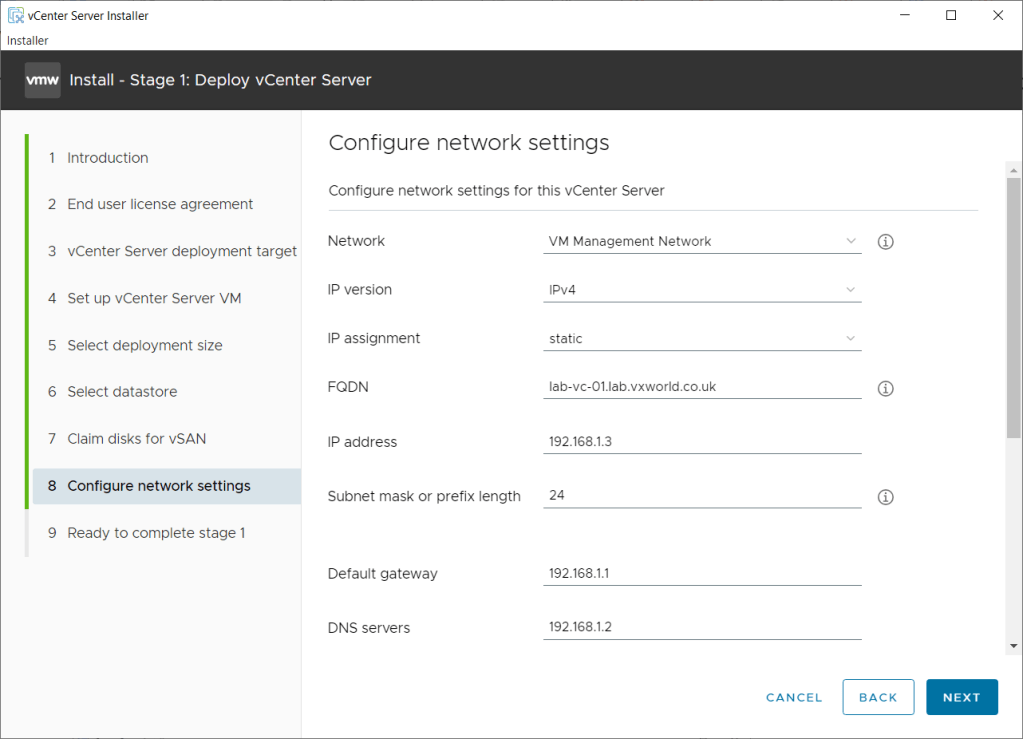
- It is now time to enter the network configuration for the vCenter appliance
- Enter the network settings, replacing the values below with your environment specific ones:
- Network: VM Management Network
- IP Version: IPv4
- IP Assignment: static
- FQDN: lab-vc-01.lab.vxworld.co.uk
- IP Address: 192.168.1.3
- Subnet mask or prefix length: 24
- Default gateway: 192.168.1.1
- DNS Servers: 192.168.1.2
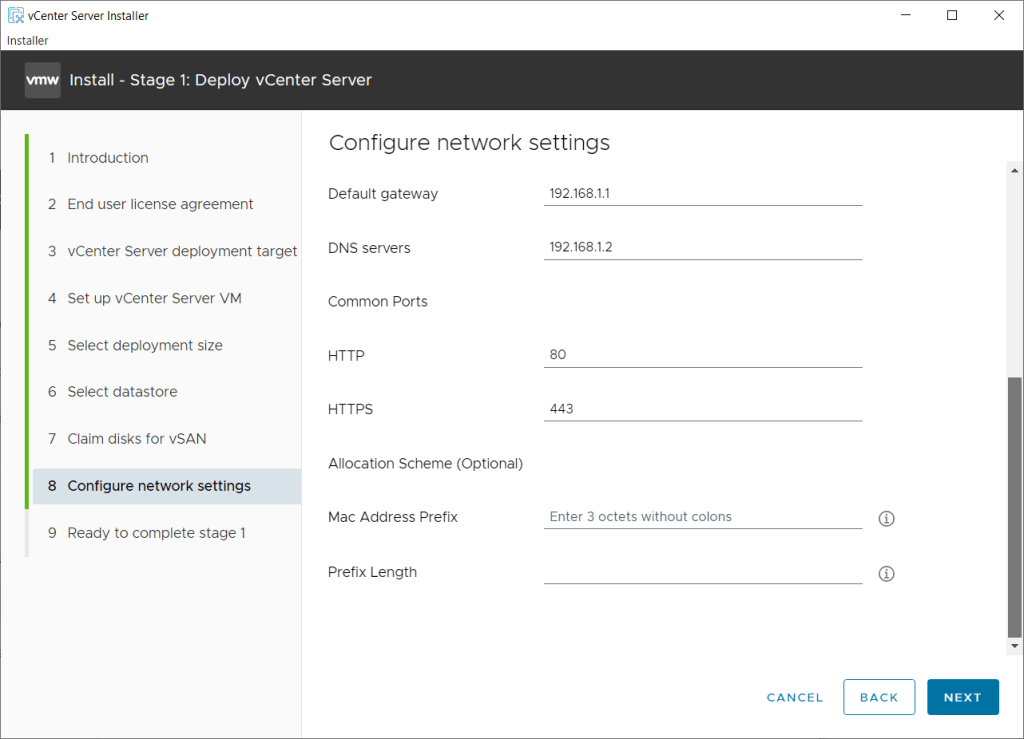
- Scroll down
- The default values below are fine for my lab:
- HTTP: 80
- HTTPS: 443
- Max Address Prefix:
- Prefix Length:
- Click Next
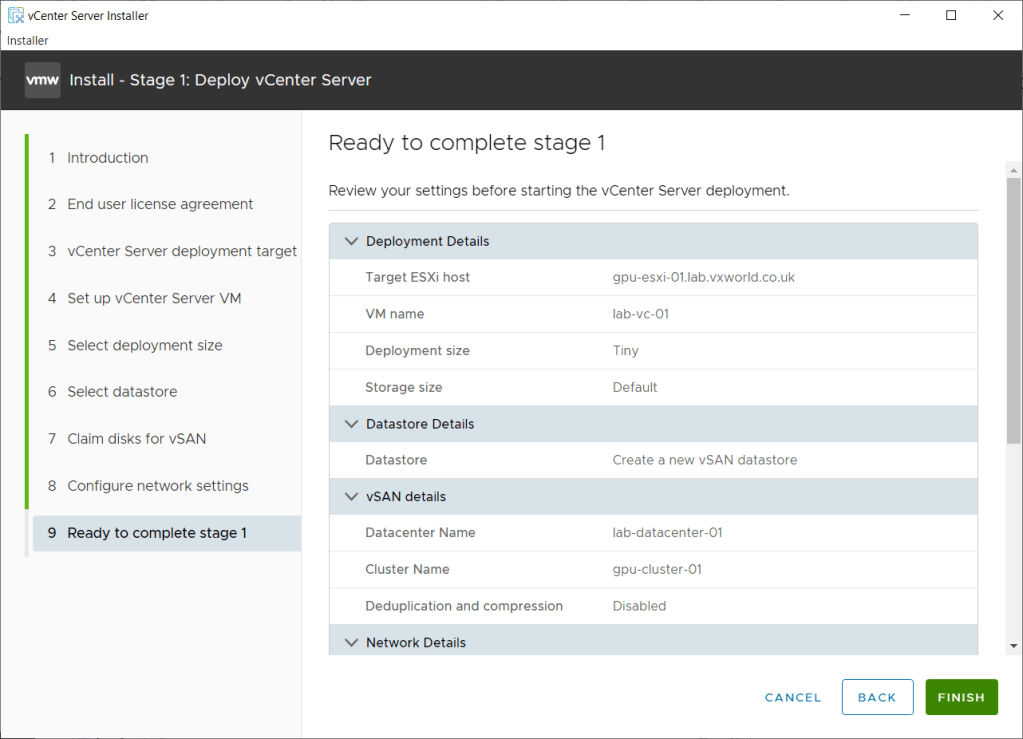
- Review the settings and click Finish
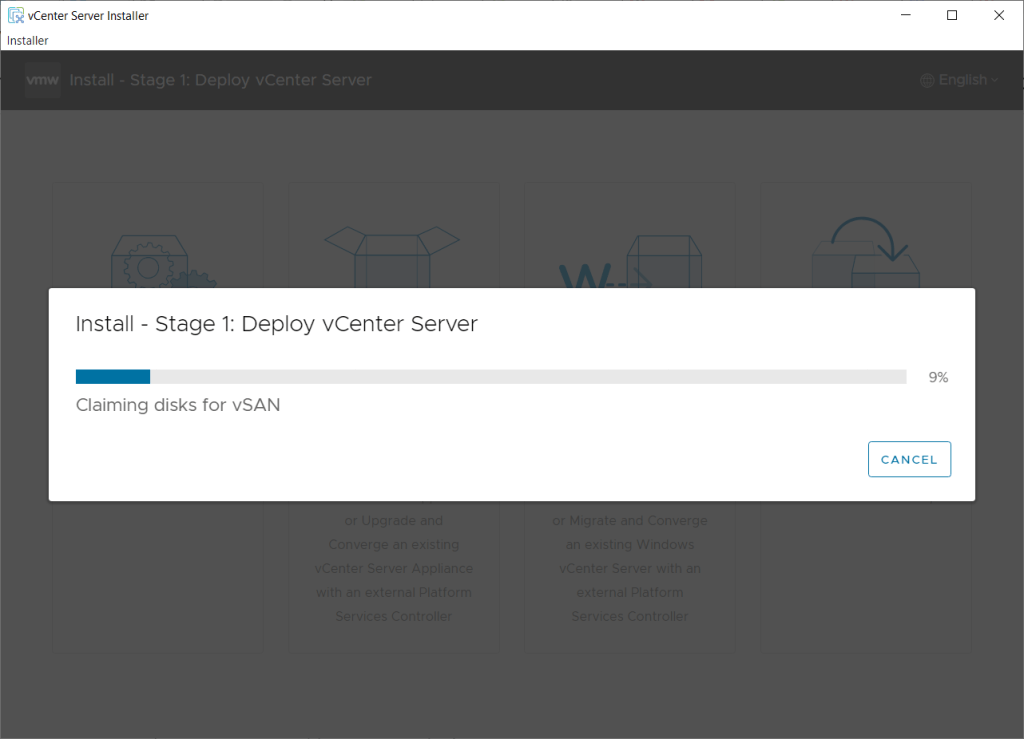
- Wait for the Stage 1 to complete
- First it will Claim the Disks for vSAN
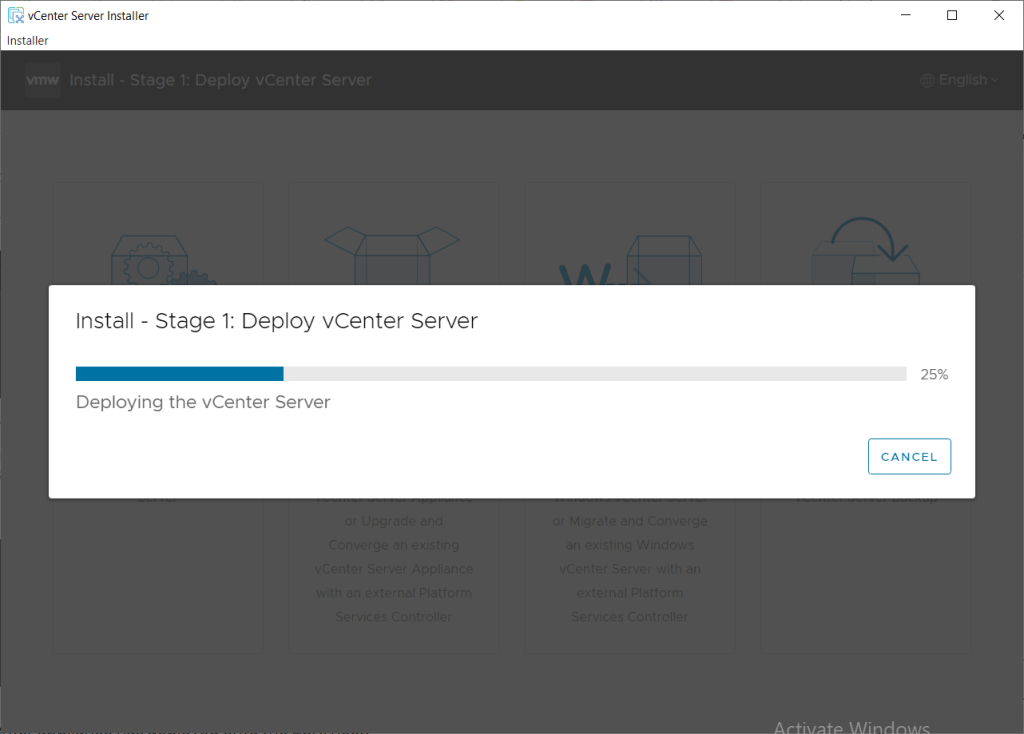
- Next it will deploy the vCenter Server appliance onto the selected ESXi host
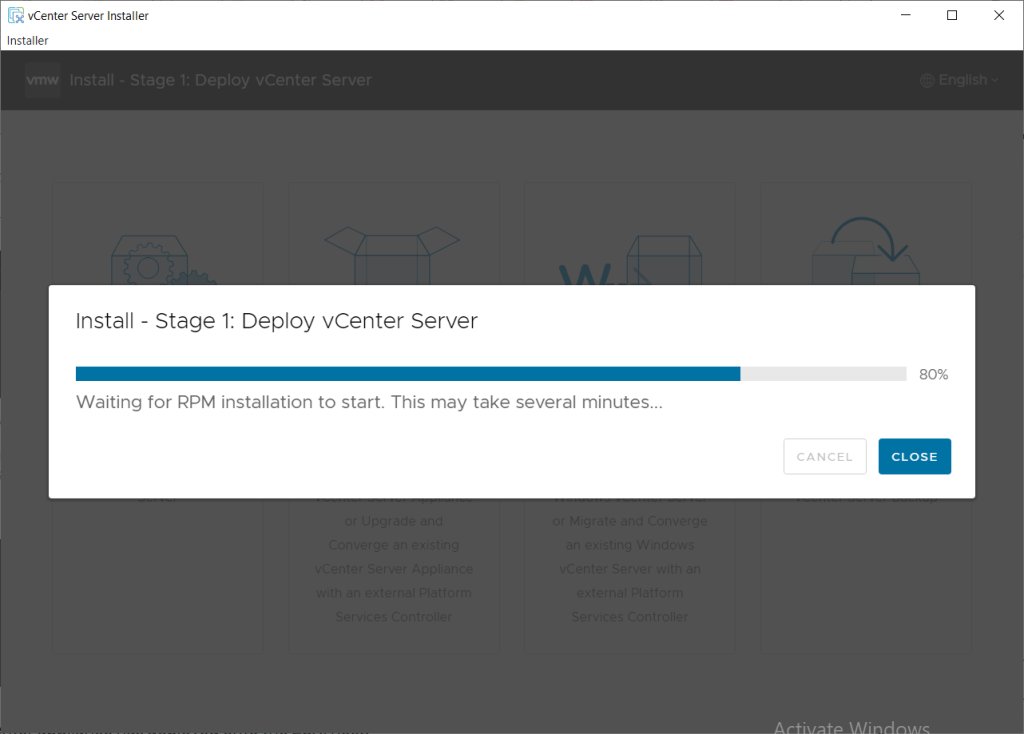
- Then install a number of RPMs
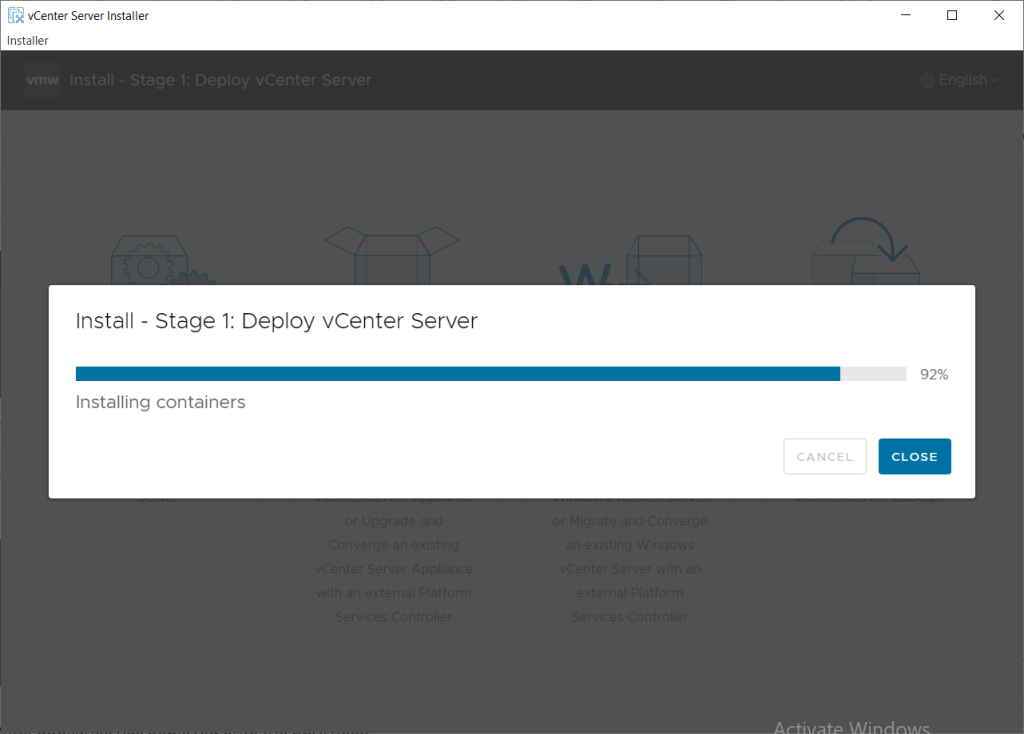
- Finally, install some containers
- Once it has completed, you will be presented with a screen like below, stating you have successfully deployed the vCenter Server.
- At this point, the vCenter appliance has deployed onto the ESXi host and should be running.
- Click Continue
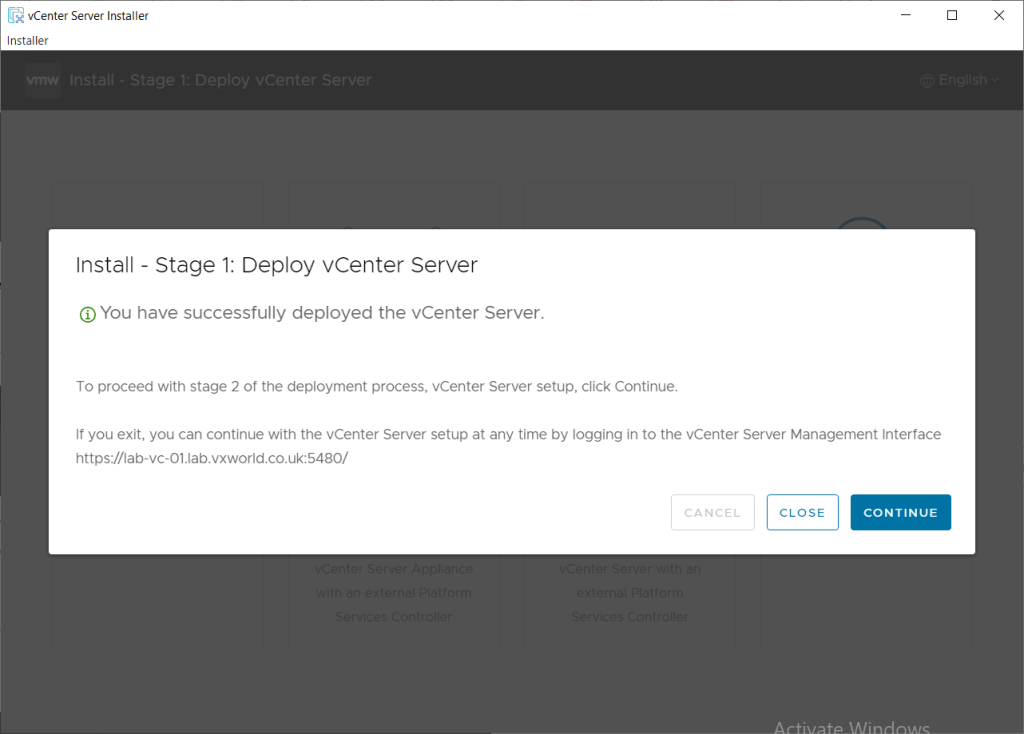
- Next we need to run though the Stage 2 part of the deployment.
Step 4 – Run the Stage 2 Configuration
In Stage 2, we will set up NTP and SSH options, configure the vCenter Single Sign-On (SSO) domain, and log into the vSphere interface to validate the deployment.
TIP
If you closed the installer, you can continue with the installation by browsing to the vCenter Server Management Interface (VAMI) at
https://vCenterFqdn:5480 or https://vCenterIP:5480
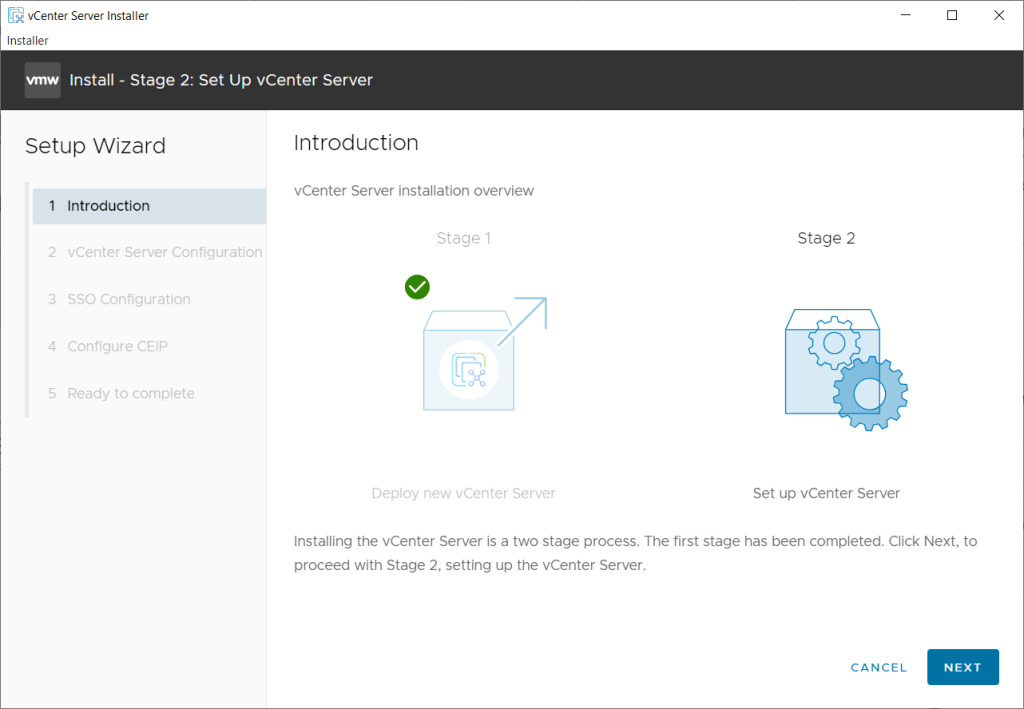
- The screen should look like below, indicating Stage 1 as been completed (greyed out) and you are ready to procced with Stage 2
- Click Next
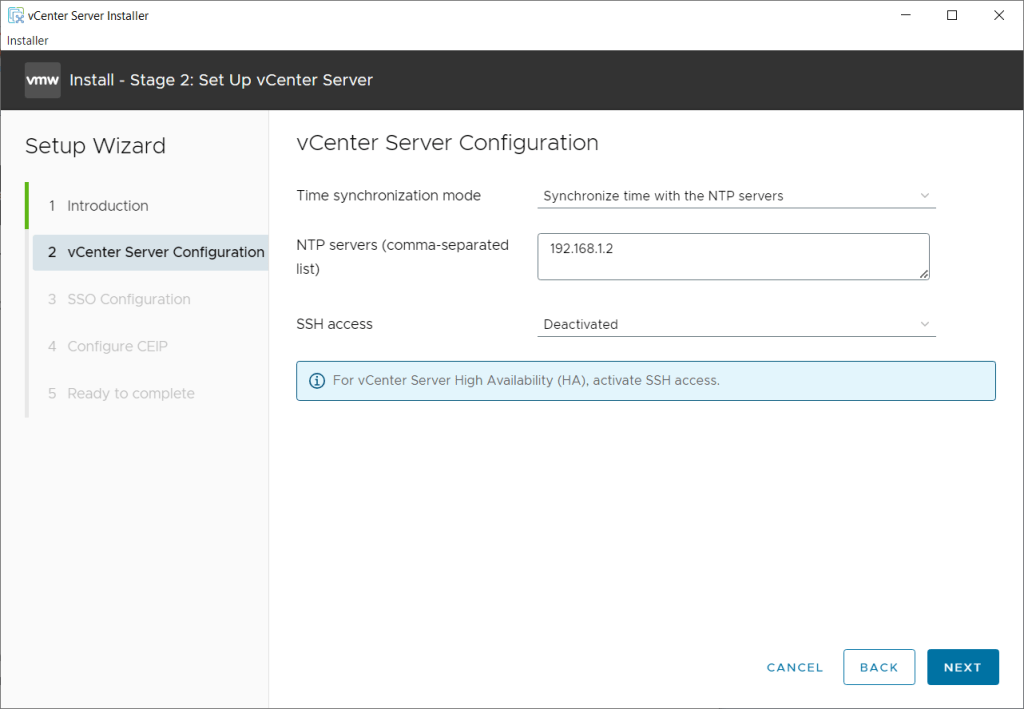
- Under Time synchronisation mode, select Synchronize time with the NTP servers
- Under NTP Servers, enter a comma-separated list of NTP servers. In my example, I am using the IP of the Domain Controller deployed in VMware GPU Homelab: Part 4 – Building a Windows Domain Controller and DNS server
- Under SSH access, for this lab, we can leave it Deactivated as we are not deploying a HA pair of vCenter’s.
- Click Next
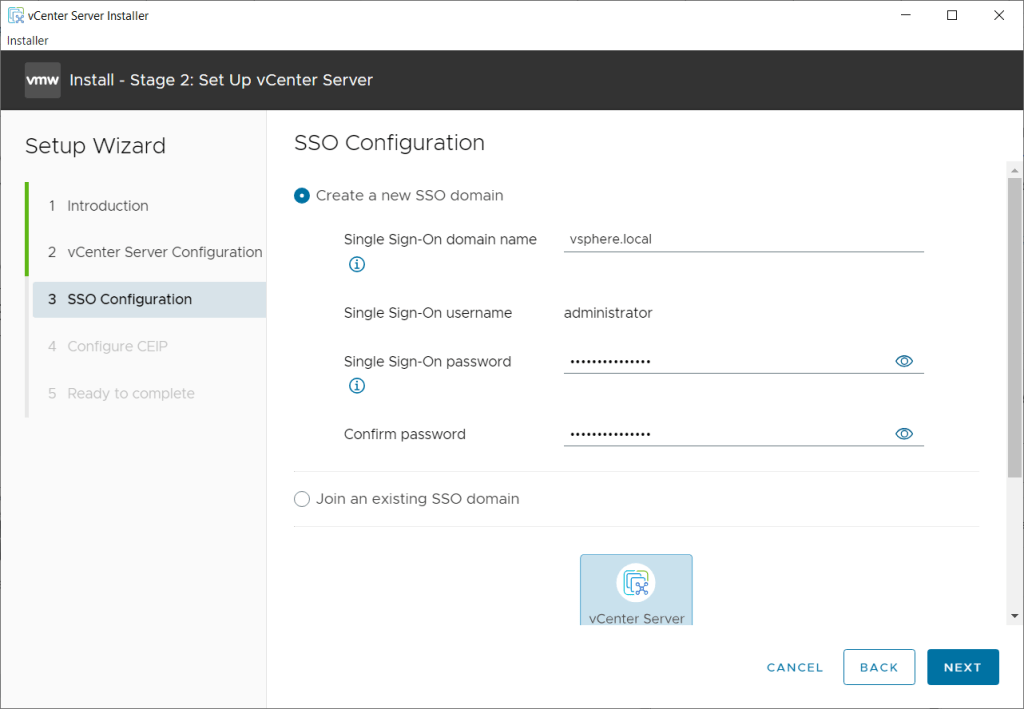
- On the SSO Configuration page, we will select Create a new SSO domain (as this is the only vCenter. You has an existing vCenter and wanted to deploy it in Enhanced Link Mode, would select Join an existing SSO domain )
- Single Sign-On domain name: Enter a domain name of your choose. In my example, I will use the common vsphere.local
Warning: do not use your existing domain name used to authenticate your users to computers etc – if you do, you would not be able to integrate vCenter with that authentication provider latter. A sub domain that does not exist, should be OK but I have not tested it. - Single Sign-On password: Enter a complex password for the SSO user. In my example, this will be for administrator@vsphere.local
- Single Sign-On domain name: Enter a domain name of your choose. In my example, I will use the common vsphere.local
- Click Next
This account, administrator@vsphere.local, will be the one you initially log into into vCenter with. After that, you can create additional users within the SSO domain (e.g. vsphere.local) and/or integrate it will external identity provides such as Active Directory (LDAP)
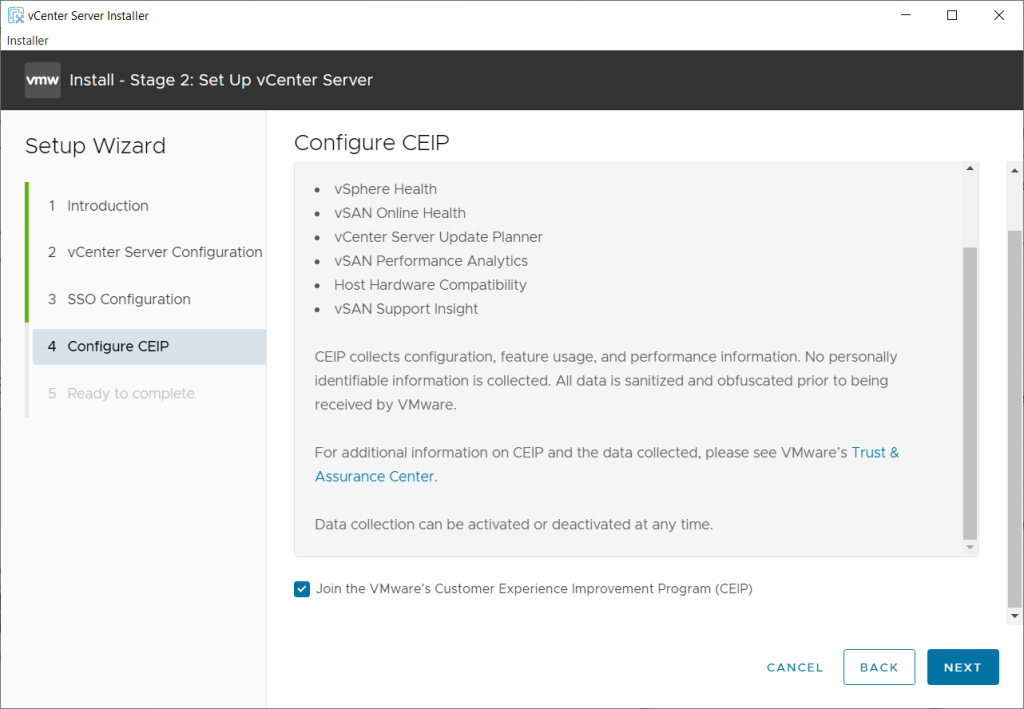
- Check/Uncheck if you want to join the CEIP
- Click Next
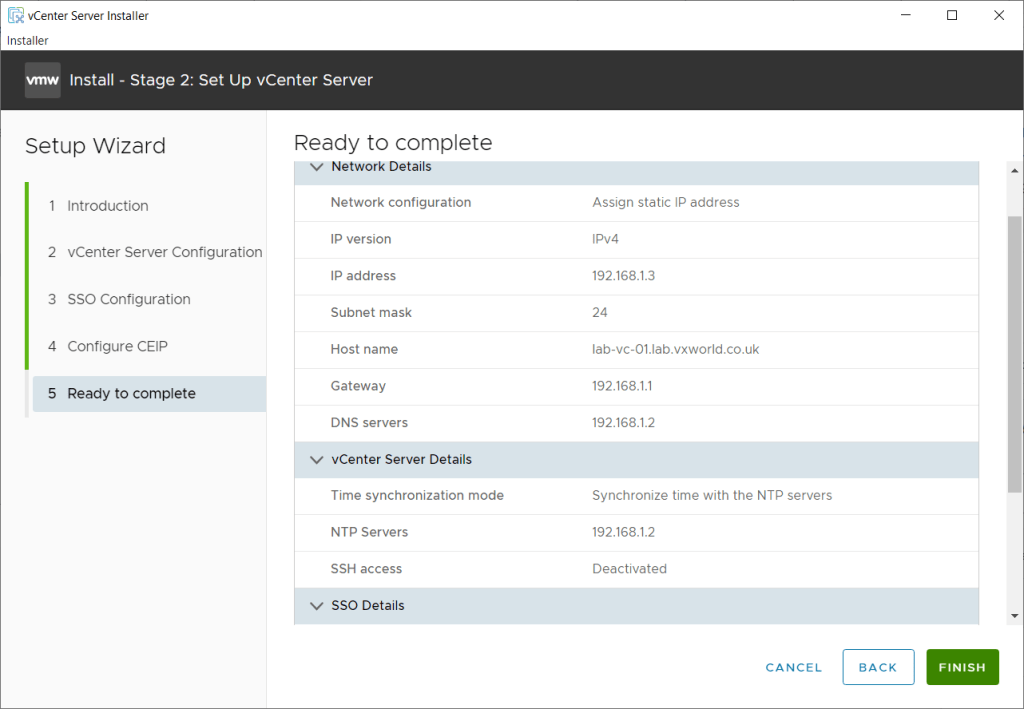
- Review the settings and click Finish
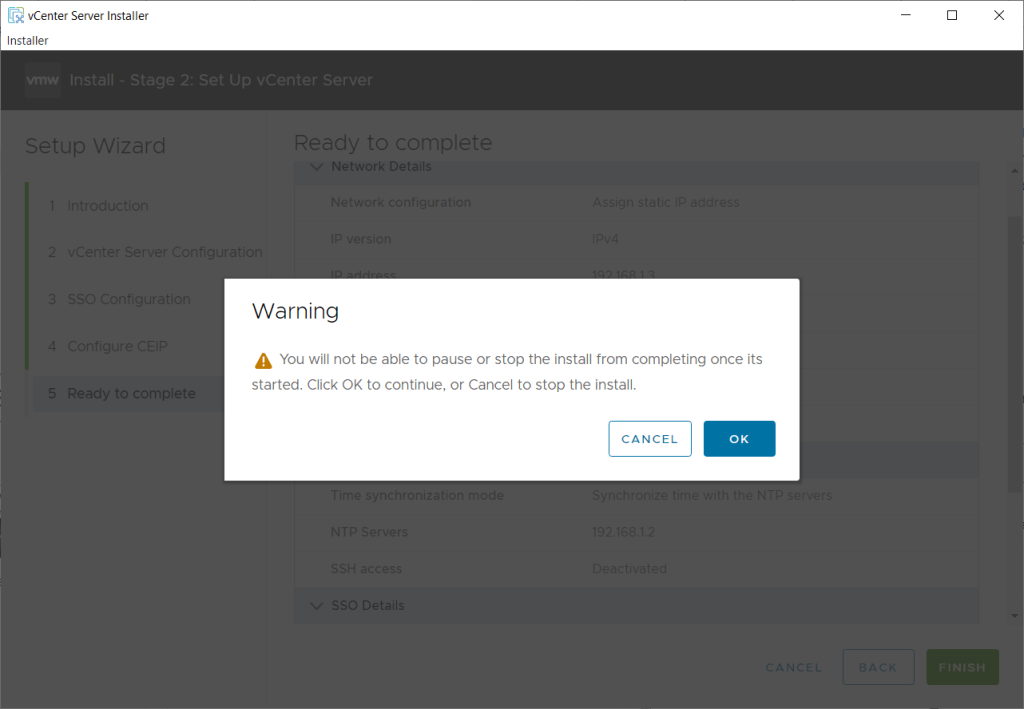
- You are warned the installation cannot be cancelled after you continue, click OK if you are happy to procced
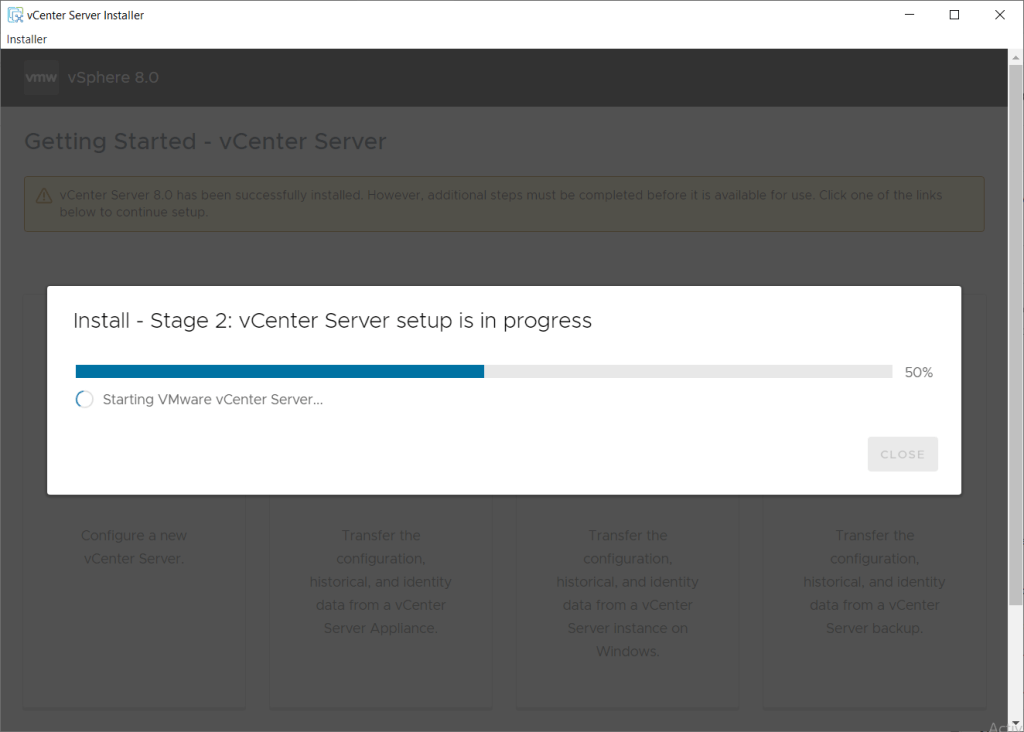
- Wait for the Stage 2 to complete.
- It will go though the following steps (I might have missed a couple):
- Starting VMware Authentication Framework
- Starting VMware Postgres
- Starting VMware Identify Single Container Service
- Starting VMware Postpres Archiver
- Starting VMware Lookup Service
- Starting VMware Secure Token Service
- Starting VMware Licence Service
- Starting VMware vAPI Endpoint
- Starting VMware vCenter-Services
- Starting VMware Certificate Authority Service
- Starting VMware Infraprofile Service
- Starting VMware VCSA Observability VAPI Service
- Starting VMware Trust Management Service
- Starting VMware vCenter Server
- Starting VMware vSphere Client
- Starting VMware Certificate Management Service
- Starting VMware ESX Agent Manager
- Starting VMware Service Control Agent
- Starting VMware Profile-Driven Storage Service
- Starting VMware Typology Service
- Starting VMware Update Manager
- Starting VMware vCenter High Availability
- Starting VMware vCenter Server Lifecycle Manager
- Starting VMware vSphere Authentication Proxy
- Starting VMware VSAN Health Service
- Starting VMware vService manager
- Starting VMware vTsdb Service
- Starting VMware Hybrid VC Service
- Starting VMware vSphere Auto Deploy Waiter
- Starting VMware vStats Service
- Starting Workload Control Plane
- Starting VMware Content Library Service
- Starting VMware Performance Charts
- Once the install is completed, you should see a screen as pictured below stating You have successfully setup this vCenter Server
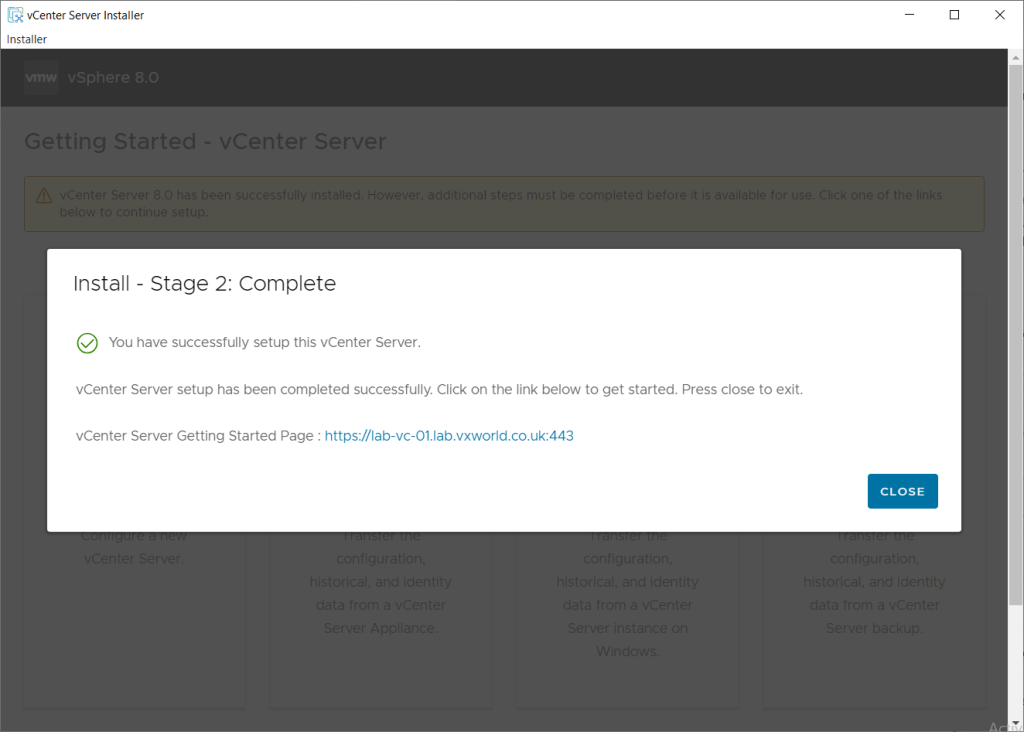
- At this point, the vCenter Server appliance should be configured and accessible on the IP/DNS address you provided (note: if you are using the standard 443 port, it can be omitted. Secondly, this is not the VAMI port number)
- Click the hyperlink to access the vCenter Server
- Click Close
TIP
You can access the vCenter Server Appliance Management Interface (VAMI) using https://fqdn:5280 or https://ip:5280 if you need to configure vCenter appliance settings.
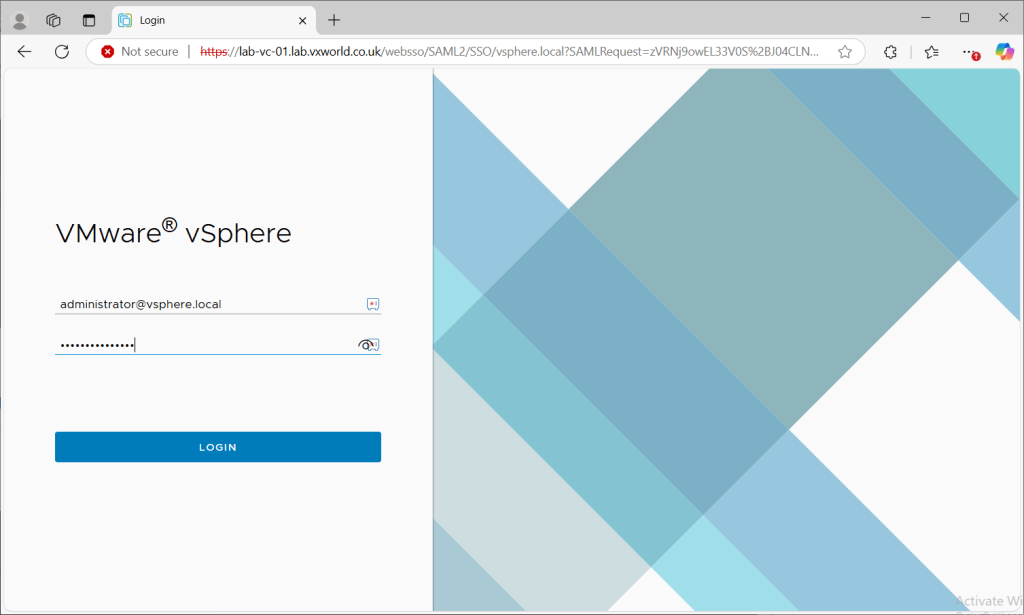
- The hyperlink should take you to the vCenter (non VAMI) login screen
- Login using administrator@vsphere.local (or the SSO domain you chose) and the password you set during Phase 2, Step 3.
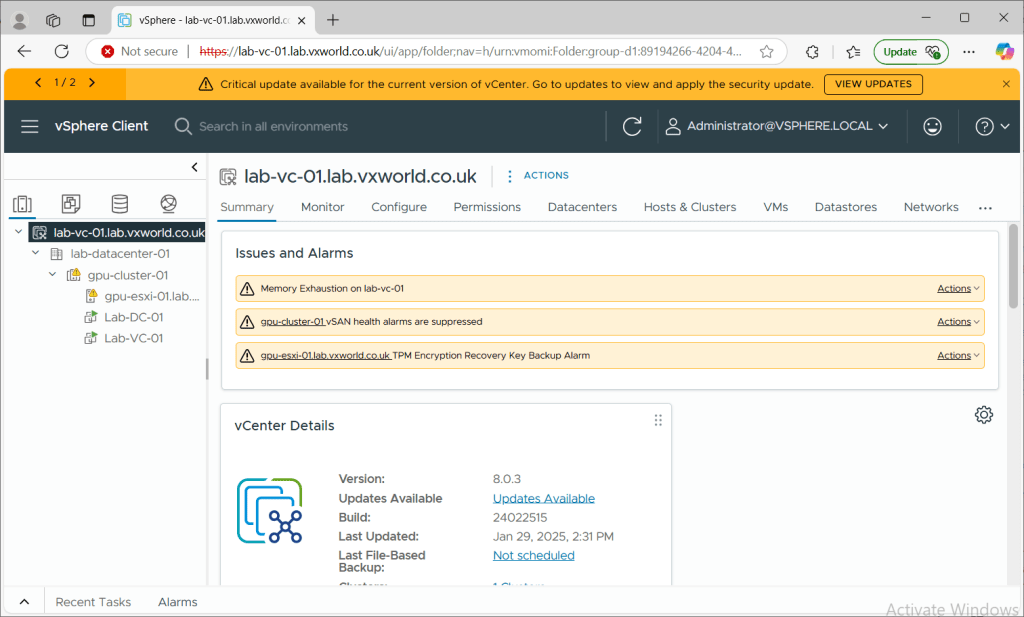
- After logging in, you should see the following tree structure containing the datacentre, cluster and host you added.
Summary
By following these steps, we successfully deployed the vCenter Server Appliance (VCSA) and set up a single-node vSAN Express Storage Architecture (ESA) cluster, laying the groundwork for future expansion.
We began by downloading the VCSA installer and creating the necessary DNS records for vCenter. In Stage 1, we specified the target ESXi host for the vCenter VM, set the vCenter VM name and root password, selected a deployment size, configured vSAN ESA storage, and defined the network settings. In Stage 2, we refined the installation by setting NTP and SSH options, configuring the vCenter Single Sign-On (SSO) domain, and finally logging into the vSphere interface to validate the deployment.
There are several post-deployment steps we need to complete, such as configuring networking and adding additional hosts. These topics will be covered in a future post.
In the next post, we go though the Step-by-Step process to deploy the vSAN Witness


Leave a comment