In this post, I upgrade the BIOS firmware and outline the BIOS settings configured on the Dell Precision 5820 Workstation, which will be used as part of my two-node GPU Homelab cluster
This has been split out into the following sections:
Reset to BIOS default settings
As the workstations are second hand and the BIOS state is unknown, I first wanted a constant state for both workstations. Therefore, I reset both workstations BIOS’s to ‘BIOS Defaults’
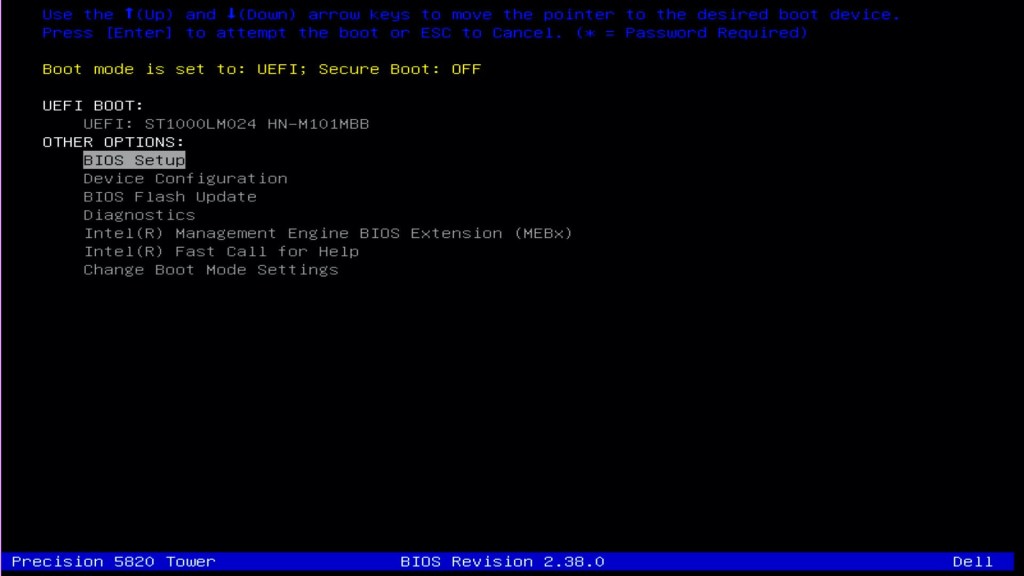
- When powering on the workstation, press F12 to enter the boot menu.
- Select BIOS Setup
- Click Restore Settings
- Select BIOS Defaults

- Click OK to accept the Warning
- Click Exit and reboot the system
Upgrading the BIOS Firmware
As the workstations are second hand and I want both of them using the same and latest BIOS, I will first first upgrade the firmware. As the workstations do not have Windows OS installed, below is the process I used to upgrade the BIOS using the boot menu.
- Download the latest BIOS firmware from the Dell Support website
- Copy the exe (e.g. Precision_5820_2.39.0.exe) to a USB memory stick
- Insert the memory stick into the Dell Precision 5820
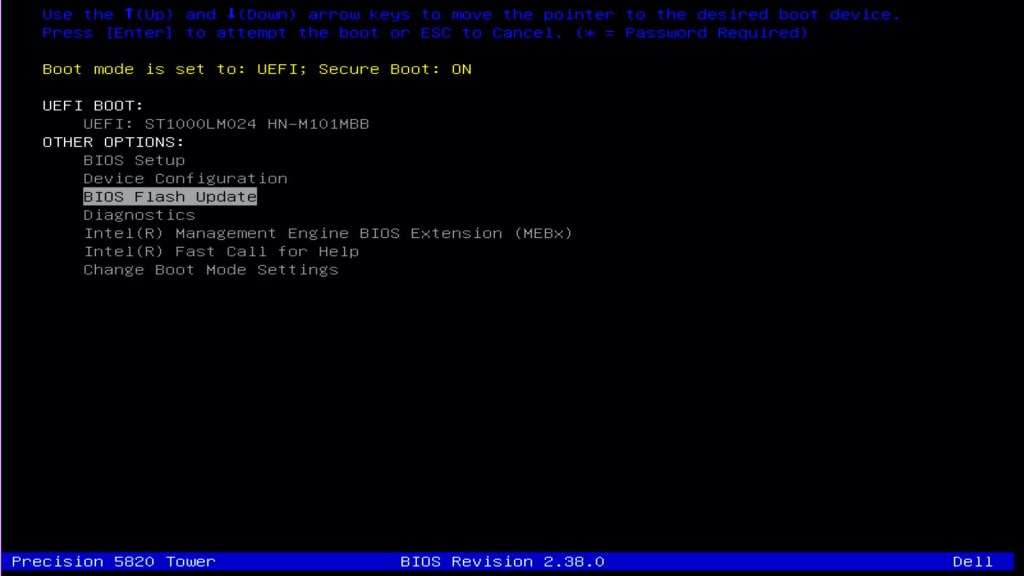
- When powering on the workstation, press F12 to enter the boot menu.
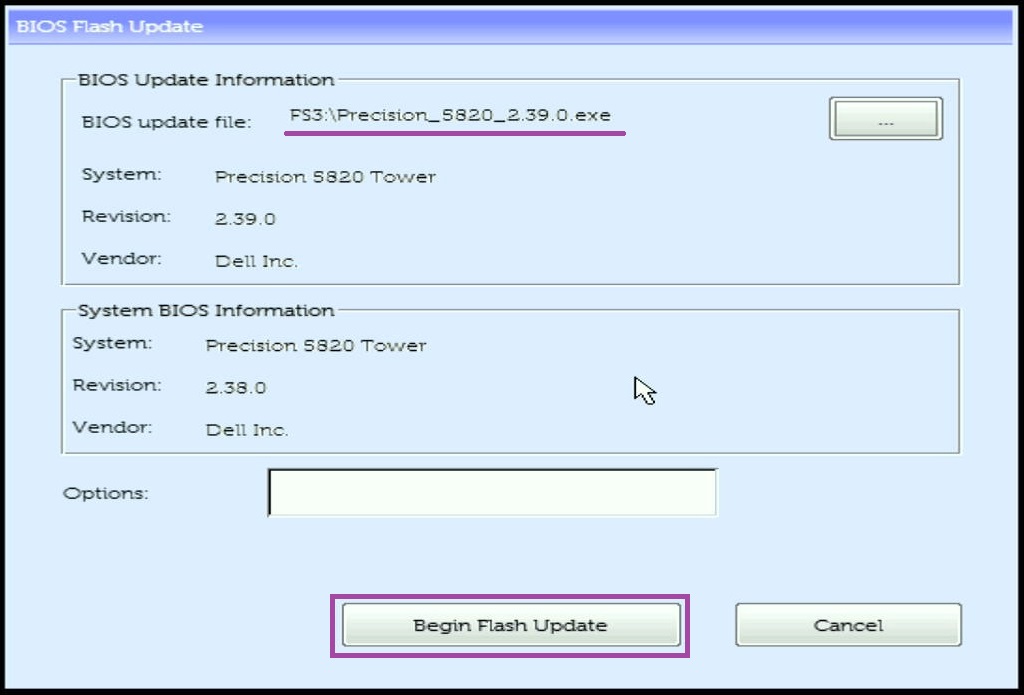
- Select BIOS Flash Update
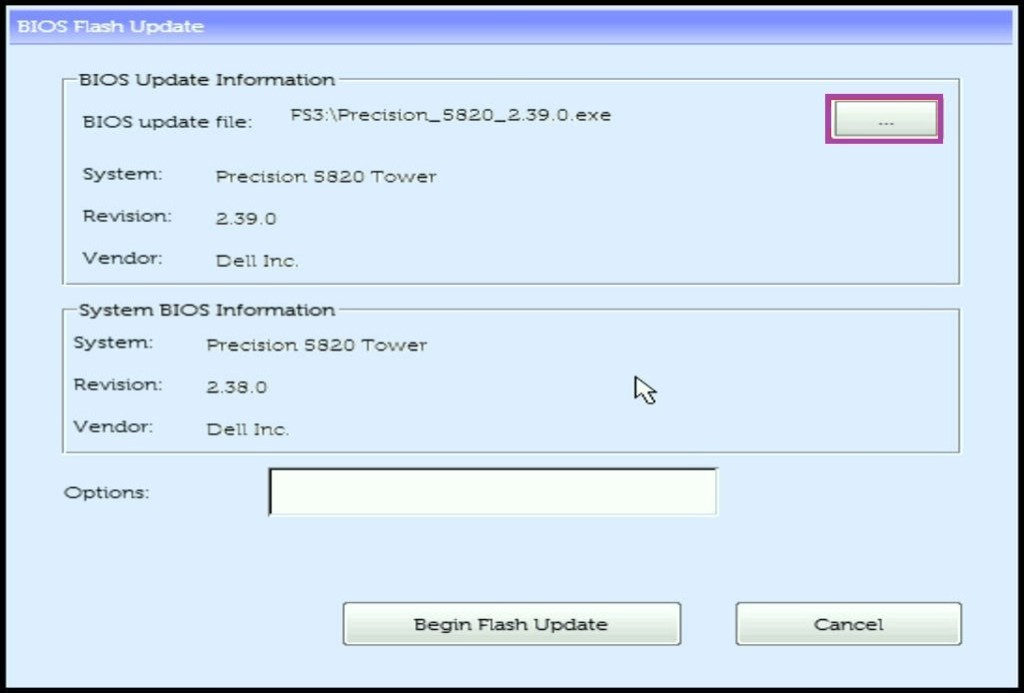
- Click the … to select the BIOS Firmware upgrade file you saved onto the USB memory stick.
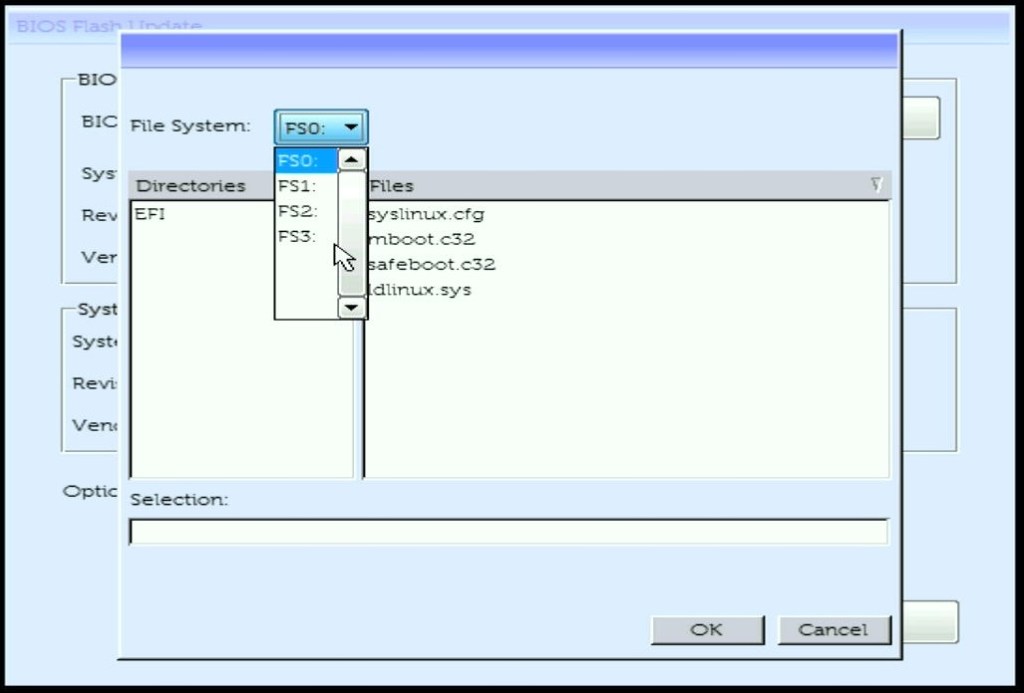
- Select the file (e.g. Precision_5820_2.39.0.exe) and click OK
- Once the file is selected, click Begin Flash Upgrade
- Read the warning and if happy to proceed, click Yes
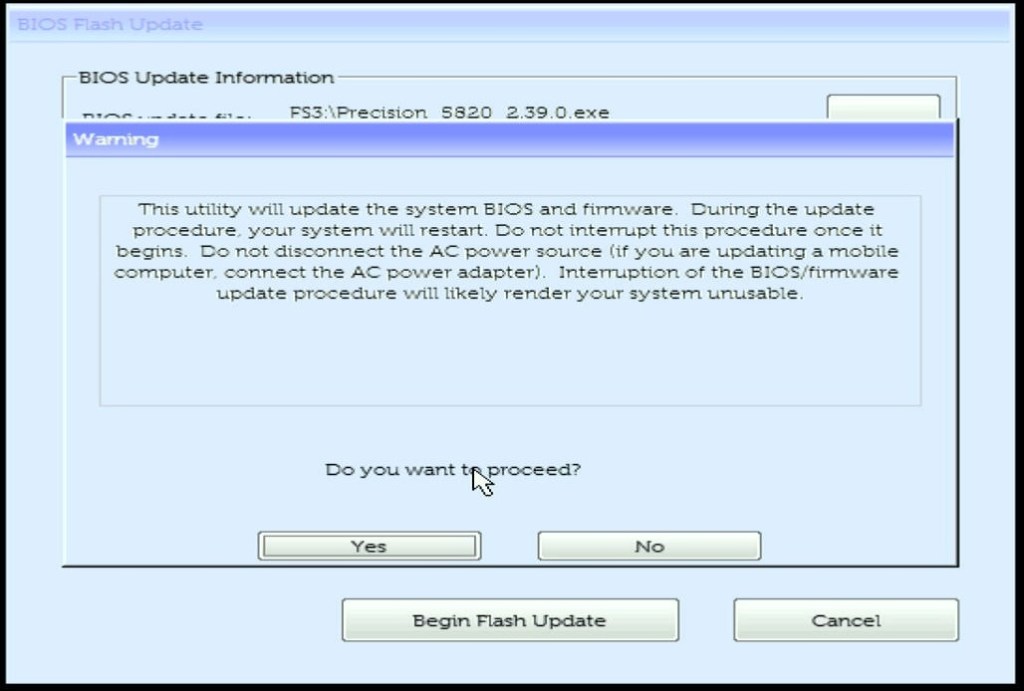
- The computer will reboot and start the BIOS firmware upgrade process
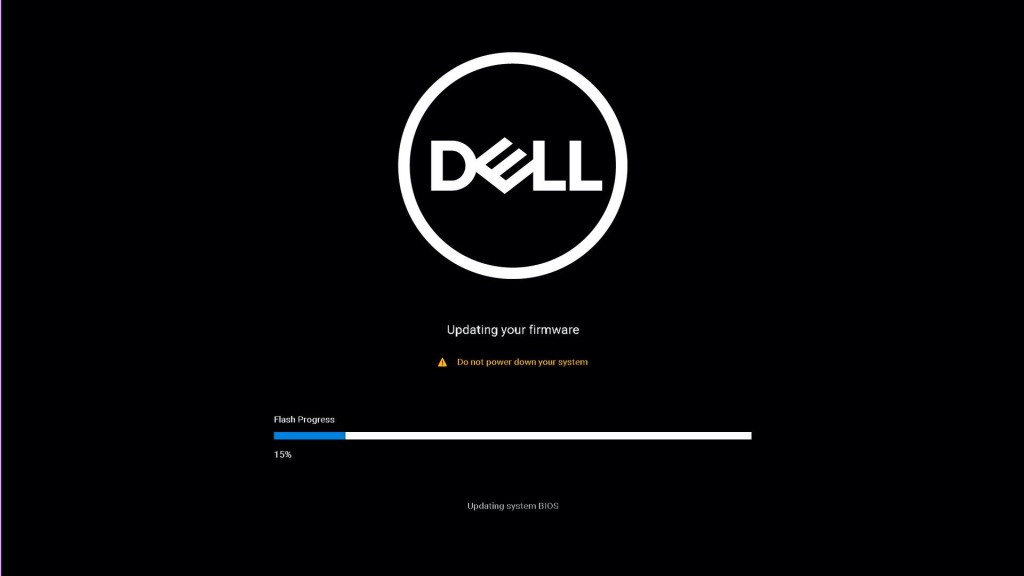
Once complete, the computer will boot the installed OS.
BIOS Settings Configured
Following resetting the BIOS to BIOS defaults, I made the following changes to best support a ESXi host with GPUs.
- When powering on the workstation, press F12 to enter the boot menu.
- Select BIOS Setup
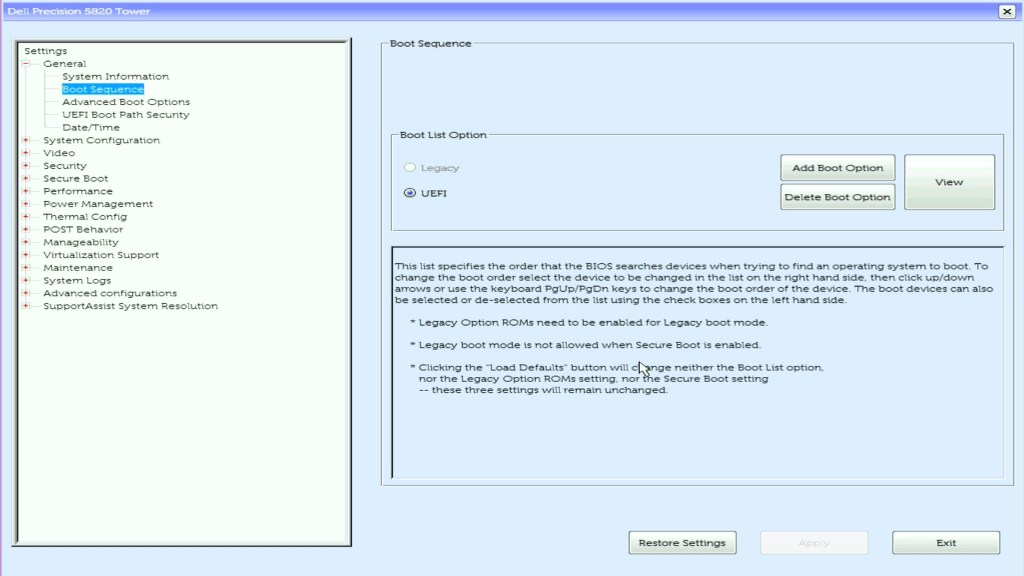
- Under General -> Boot Sequence,
- Select UEFI under Boot List Option
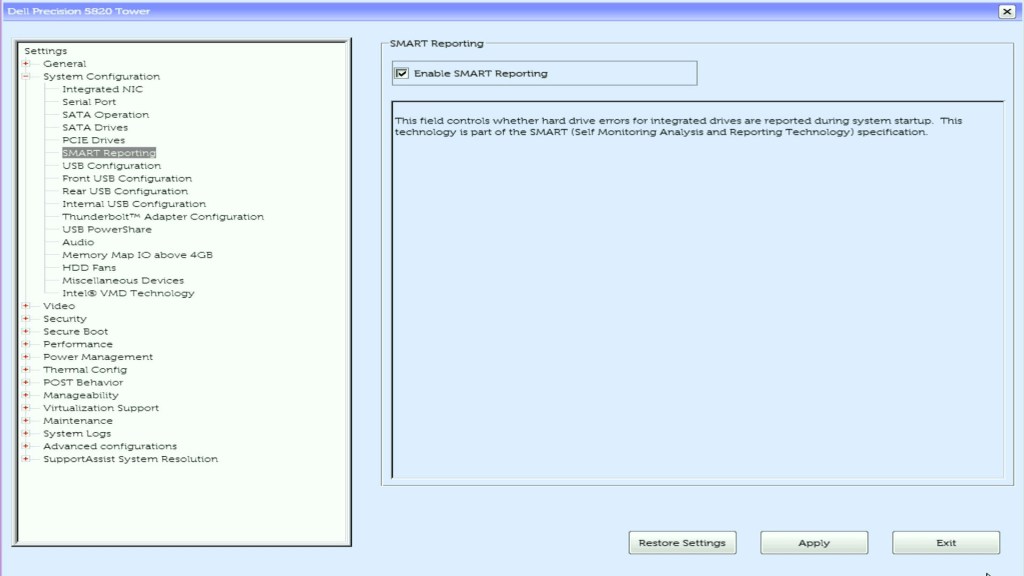
- Under System Configuration -> SMART Reporting
- Select Enabled SMART Reporting if you want this feature
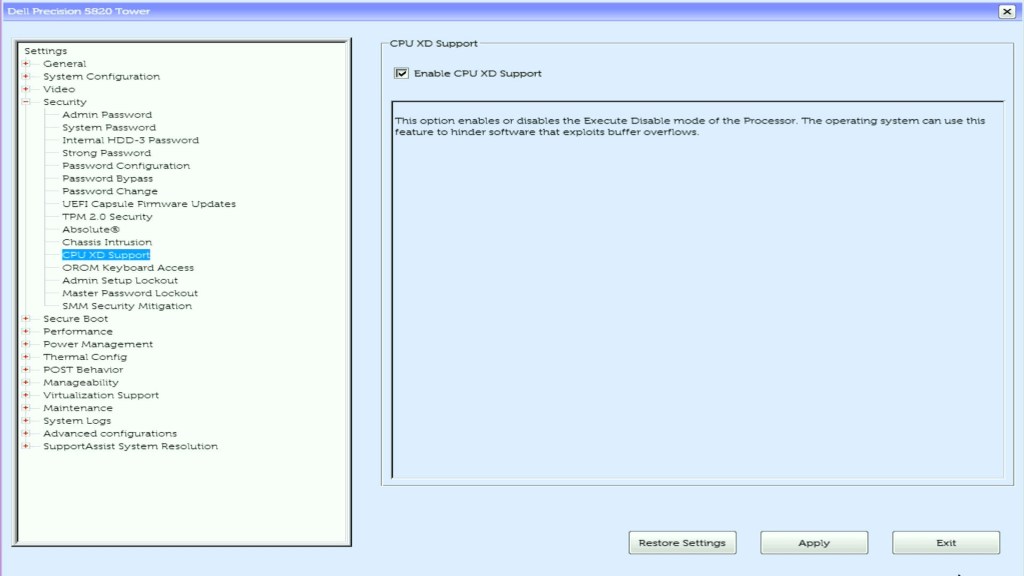
- Under Security -> CPU XD Support
- Ensure Enable CPU XD Support is checked, as this is required for ESXi.
ESXi8.0 requires the NX/XD bit to be enabled for the CPU in the BIOS.
VMware ESXi Hardware Requirements
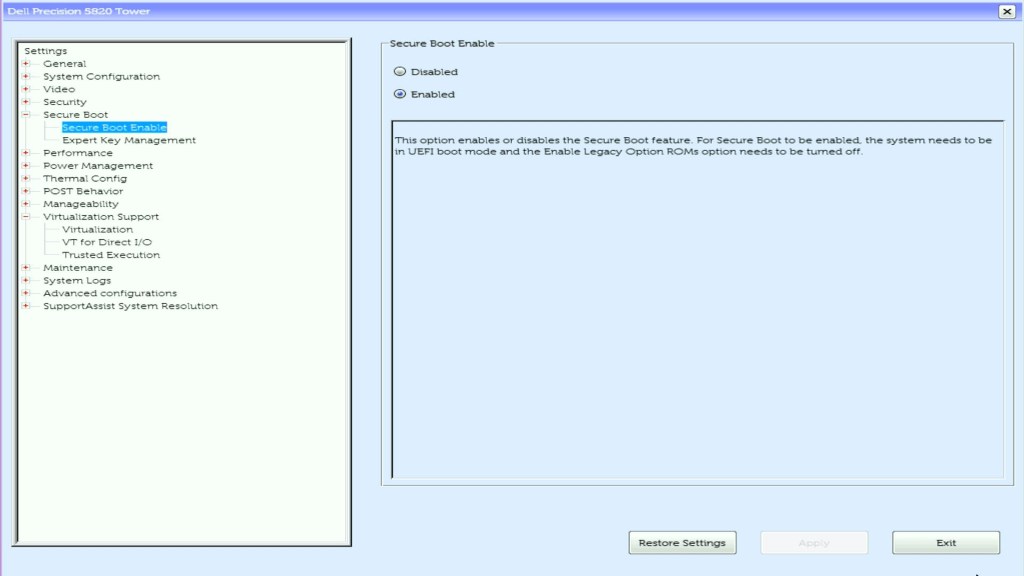
- Under Secure Boot -> Secure Boot Enabled
- Ensure Secure Boot Enabled is set to Enabled
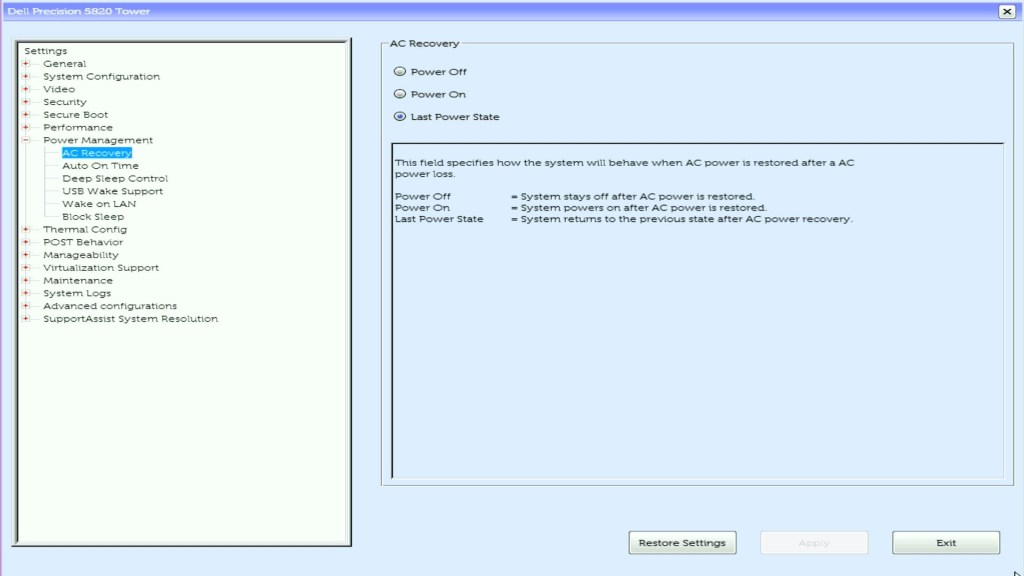
- Under Power Management -> AC Recovery
- Select Last Power State if you want your lab to power on following a power cut if it was already on.
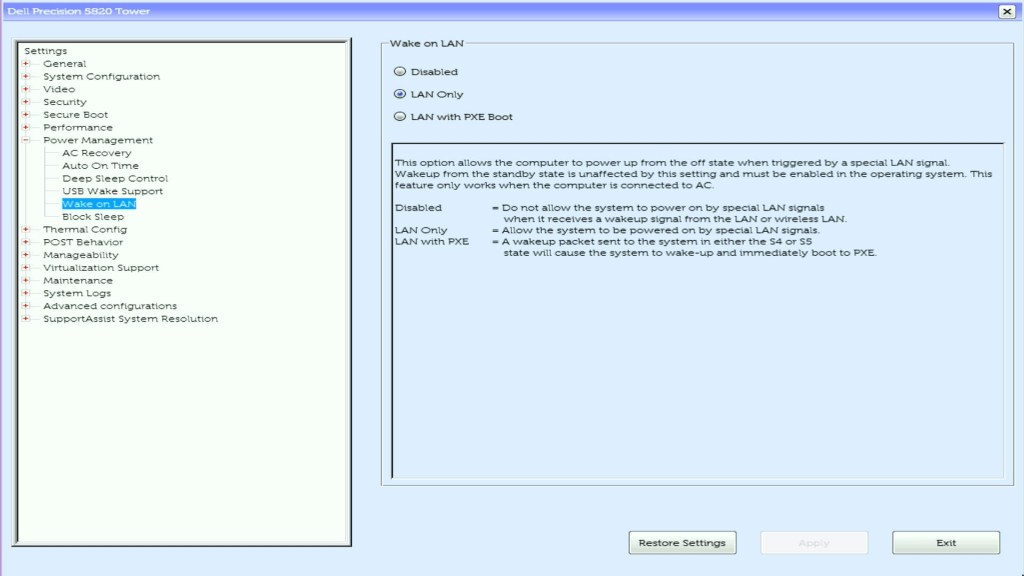
- Under Power Management -> Wake on LAN
- As this workstation does not have IPAM, I will either use Intel vPro (I will do a post on that later) or Wake on LAN (WOL) to turn on the workstation remotely. To give me the option, I select LAN Only under Wake on LAN.
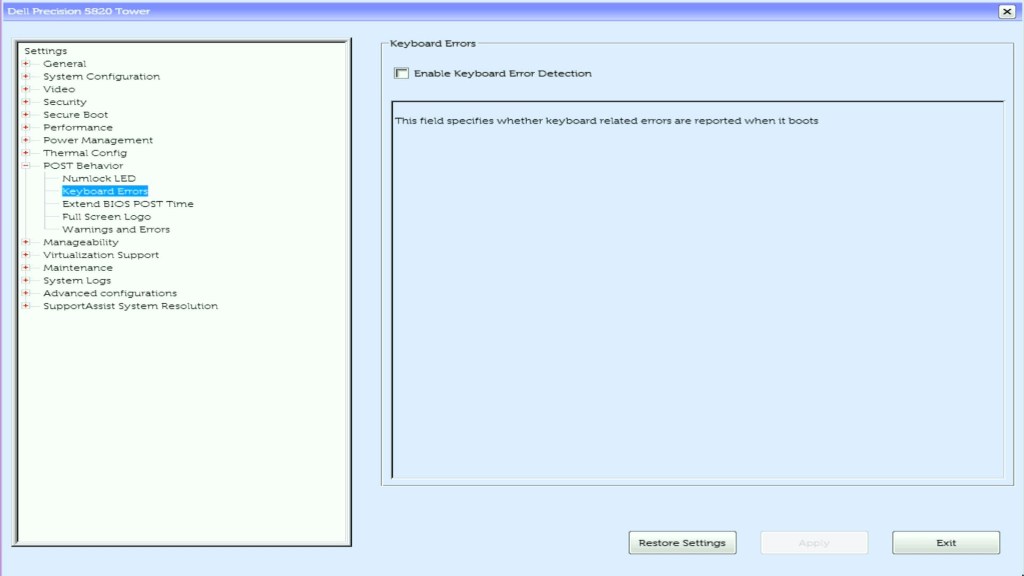
- Under POST Behaviour -> Keyboard Errors
- As this workstation will be headless and not have a keyboard attached, I deselected Enable Keyboard Error Detection
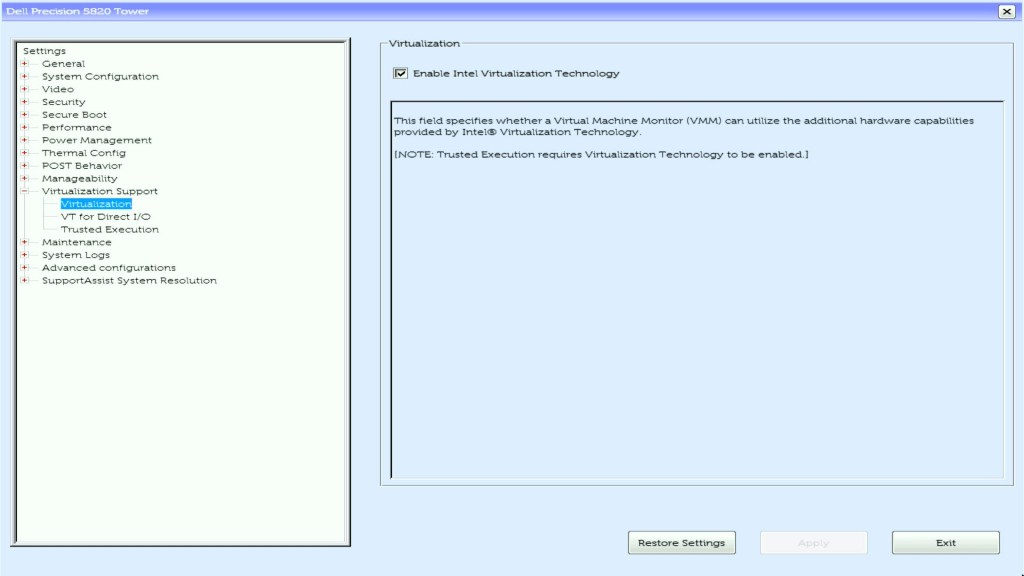
- Under Virtualization Support -> Virtualization
- Ensure Enable Intel Virtualization Technology is enabled as this is required by ESXi to run VMs
To support 64-bit virtual machines, support for hardware virtualization (Intel VT-x or AMD RVI) must be enabled on x64 CPUs.
VMware ESXi Hardware Requirements
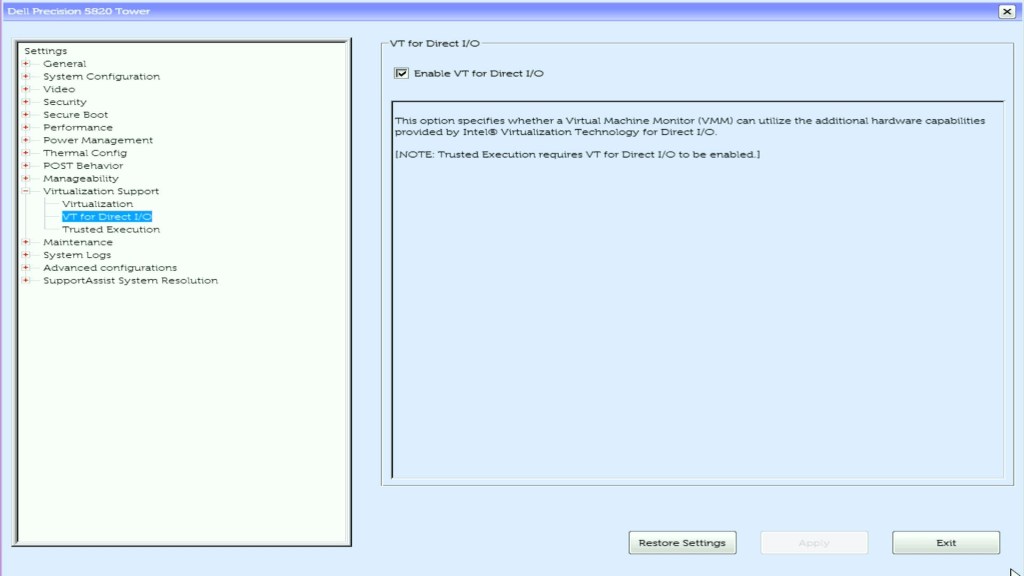
- Under Virtualization Support -> VT for Direct I/O
- Ensure Enable VT for Direct I/O is enabled
All other BIOS defaults were left as per the defaults.
Summary
This post detailed the process to reset the BIOS to default settings. Then, it explained how to make the required customisation to support this workstation becoming an ESXi host in my GPU Home Lab.
In the next post, VMware GPU Homelab: Part 3 – Installing ESXi Step by Step I walk you though the steps to install ESXi.


Leave a comment